Art And Design 2200
Unit 1: Fibre Arts
Our first unit in Art and Design 2200 is Fibre Arts. The fibre arts unit can include basketry, beadwork, braiding, clothing design, crochet, dyeing, embroidery, felting, hooking, knitting, lacework, mixed media, needlework, paper, quilting, sculpture, sewing, spinning, surface design, textile design and weaving.
Fiber art refers to fine art whose material consists of natural or synthetic fibre and other components, such as fabric or yarn. It focuses on the materials and on the manual labour on the part of the artist as part of the works' significance, and prioritizes aesthetic value over utility.
Weaving Assignment
Your first fibre arts assignment will have 4 parts:
The complete assignment and details are listed below, but first we need to learn about weaving, we will first look at a brief history of weaving. Please click the power point presentation below.
Fiber art refers to fine art whose material consists of natural or synthetic fibre and other components, such as fabric or yarn. It focuses on the materials and on the manual labour on the part of the artist as part of the works' significance, and prioritizes aesthetic value over utility.
Weaving Assignment
Your first fibre arts assignment will have 4 parts:
- Part A (20 marks): Practice Weaving
- Part B (10 marks): Weaving Questions
- Part C (60 marks): Artistic Weaving
- Part D (10 marks): Reflection Weaving Questions
The complete assignment and details are listed below, but first we need to learn about weaving, we will first look at a brief history of weaving. Please click the power point presentation below.
|
| ||||
In order to become true weavers, we need to start using the vocabulary that weavers use. Please write the following definitions in your art book or place them in your folder:
1. LOOM - a frame (or machine) on which weaving is done.
2. WARP - the vertical threads which form the base of the weaving; to warp means to string the threads onto the loom,
3. WEFT - the horizontal threads which are woven across the warp.
4. SHED - the space between the warp threads. The weft is passed through this space.
5. SHOT - a woven row.
6. TO BUBBLE - a slight curve added to the weft in order to keep the selvage from becoming distorted.
7. SELVAGE - the woven sides of the piece.
For the first part of this assignment, you will be given a small mat board loom, some wool, a darning needle (or a paper clip), tape, a ruler and a utility knife (or scissors). Please follow the following steps:
1. Draw a line that is 1 cm from the top and bottom edges of your piece of mat board. These will be your guide lines.
2. Lay your ruler on each guide line, measure, and make marks at every 1/2 cm.
2. Using your scissors, cut lines at every 1/2 cm mark. Make sure you stop cutting at your guideline. This will create your loom.
3. Push the wool for your warp through the first cut on your matboard and tape it on the back. Then create your warps by running the wool down and into the cut at the bottom, then going back up by the previous string. Be gentle when putting the wool in the cuts because you don't want to bend or tear the matboard.
4. When you get to the last cut, put the wool through and tape the wool at the back. You now have your loom!
Look at the following instructions to see how to create different weaves. Remember to keep the selvages straight, so don't pull too hard on the wool. If your wefts change the shape of the warp, you are pulling too hard. Attach your weaving to your artbook when you are finished and label each of your weaves.
Here is another great website that teaches basic weaving skills. This website also has great tips on tying up the loose ends on your sides and finishing the weave.
The following websites are great resources if you're wondering about circular looms. You can view those websites here, here, and here. Check them out! :)
Here is a website detailing the history of the French Shore Tapestry created in Conche, Newfoundland. The French Shore Tapestry was started in 2006 and is now 66 metres long. It tells the history of that region's French shore, from the pre-historic animals that roamed the forests and shoreline to the present.
And HERE is an article that talks about the revival of the traditional art of weaving.
You can view the weaving instructions by clicking the link below.
|
| ||||||
|
| ||||
Sewing Project (Beginner)
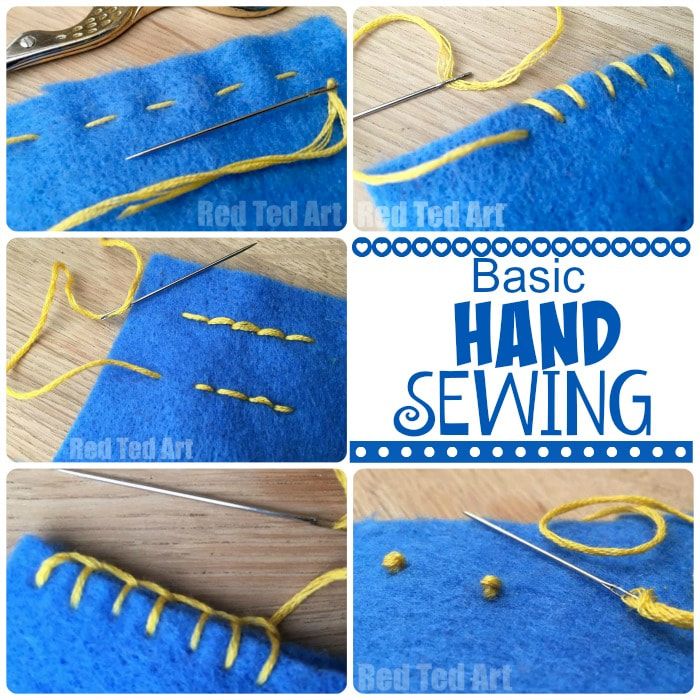
For this section of the fibre arts unit, we will be learning how to sew by hand. We will learn basic stitches and the purpose of these stitches before moving on to our sewing project.
Stitches (at the beginner level) that we will learn include:
Useful sewing information and tutorials can be found here and you can find 6 different hand sewing stitches here. As a class, we will also look at the PowerPoint presentation found here.
The following videos are also very useful:
- Introduction to Hand Sewing
- How to Sew by Hand
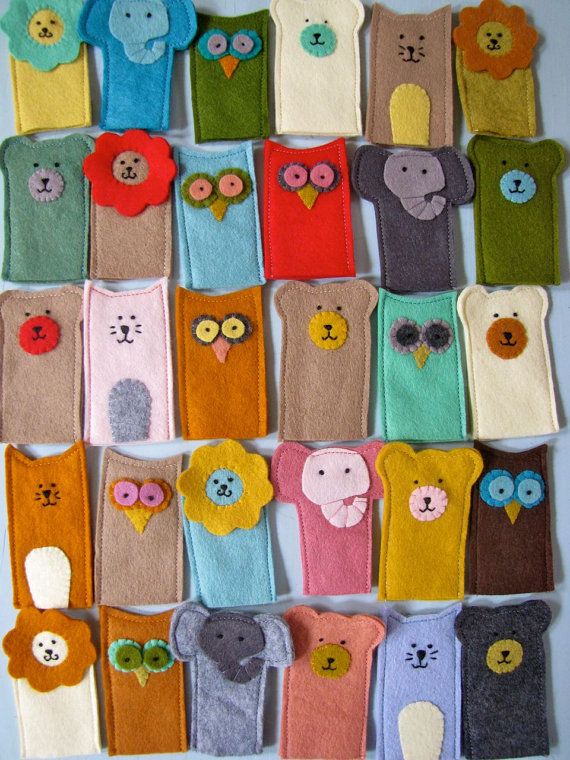
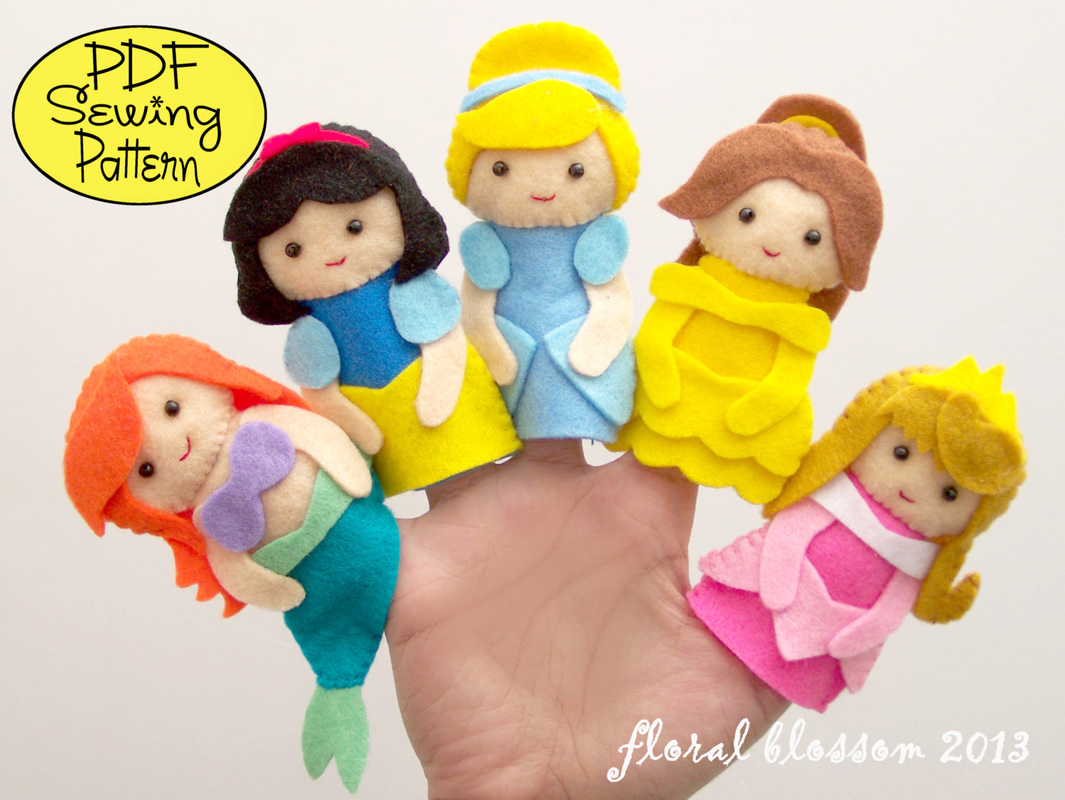
Puppetry is a form of theatre or performance that involves the manipulation of puppets. Puppetry is a very ancient art form, thought to have originated 3000 years ago. Puppetry takes many forms but they all share the process of animating inanimate performing objects. Puppetry is used in almost all human societies both as entertainment – in performance – and ceremonially in rituals and celebrations such as carnivals.
Most types of fibre art often had a practical purpose. Fibre art was not simply created to hang on a wall. It often had a function besides looking nice. For example, weavings were used to create clothing, hooked rugs were used to increase the warmth of old houses, and embroidered pieces were often used to decorate clothing or other household items. The functional nature of fibre art meant that these pieces of art were seen and admired frequently.
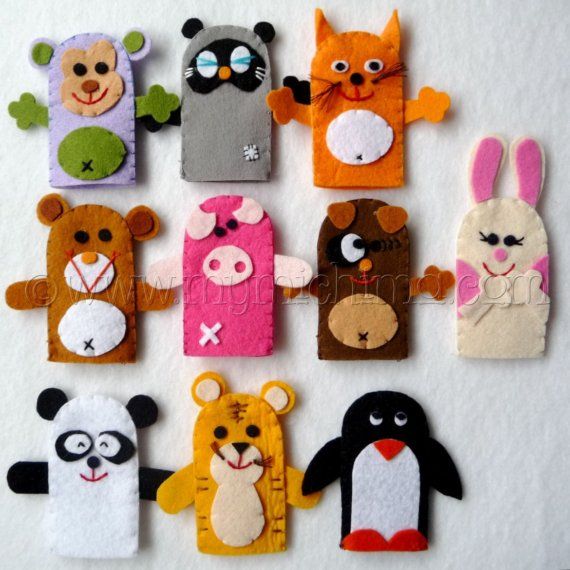
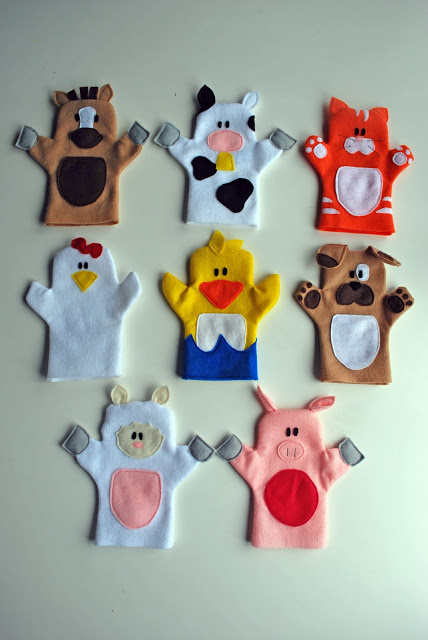
Because fibre art often has a practical purpose, the creation of puppets is the perfect project for our fibre art unit. The creation of puppets involves the manipulation of fibres and fabrics, sewing and embroidary skills, and creativity. Puppetry provides a way for you to demonstrate your creativity and artistic skills while showcasing your artwork to a wider audience.
For this section of the fibre arts unit, we will be learning how to sew by hand. We will learn basic stitches and the purpose of these stitches before moving on to our sewing project.
Stitches (at the beginner level) that we will learn include:
- Running Stitch - Used to hold fabric together
- Back Stitch - Used to "draw" decorative details with the thread
- Whip Stitch - Used to hold fabric together on the edge of the fabric pieces
- Blanket Stitch - Used to hold fabric together on the edge (sturdier, nicer version of the whip stitch
Useful sewing information and tutorials can be found here and you can find 6 different hand sewing stitches here. As a class, we will also look at the PowerPoint presentation found here.
The following videos are also very useful:
- Introduction to Hand Sewing
- How to Sew by Hand
Puppetry is a form of theatre or performance that involves the manipulation of puppets. Puppetry is a very ancient art form, thought to have originated 3000 years ago. Puppetry takes many forms but they all share the process of animating inanimate performing objects. Puppetry is used in almost all human societies both as entertainment – in performance – and ceremonially in rituals and celebrations such as carnivals.
Most types of fibre art often had a practical purpose. Fibre art was not simply created to hang on a wall. It often had a function besides looking nice. For example, weavings were used to create clothing, hooked rugs were used to increase the warmth of old houses, and embroidered pieces were often used to decorate clothing or other household items. The functional nature of fibre art meant that these pieces of art were seen and admired frequently.
Because fibre art often has a practical purpose, the creation of puppets is the perfect project for our fibre art unit. The creation of puppets involves the manipulation of fibres and fabrics, sewing and embroidary skills, and creativity. Puppetry provides a way for you to demonstrate your creativity and artistic skills while showcasing your artwork to a wider audience.
|
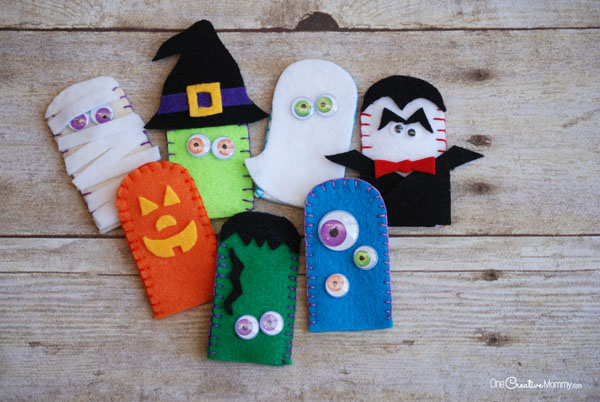
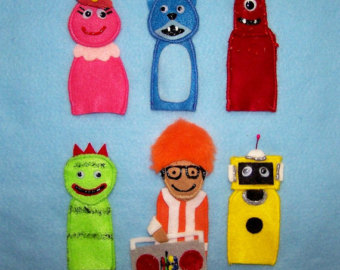
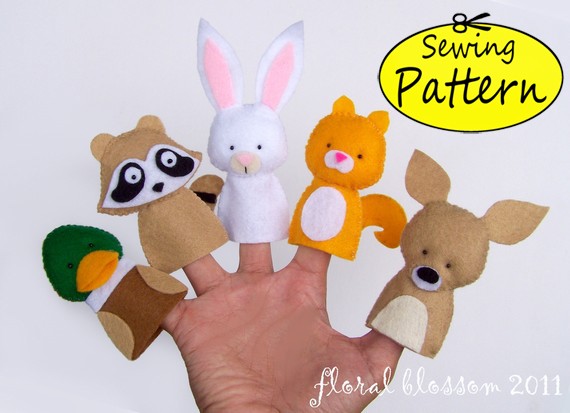
Project Requirements:
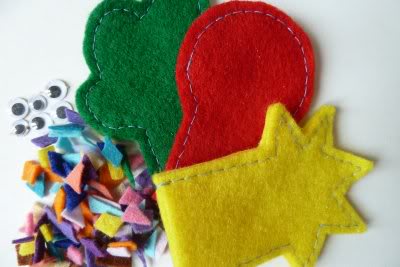
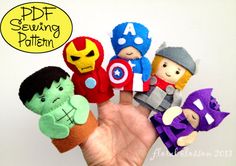
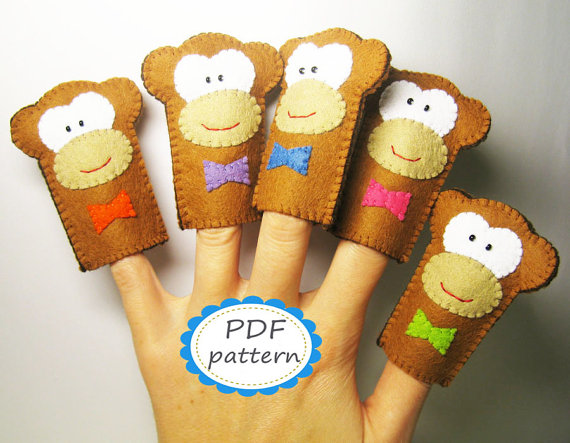
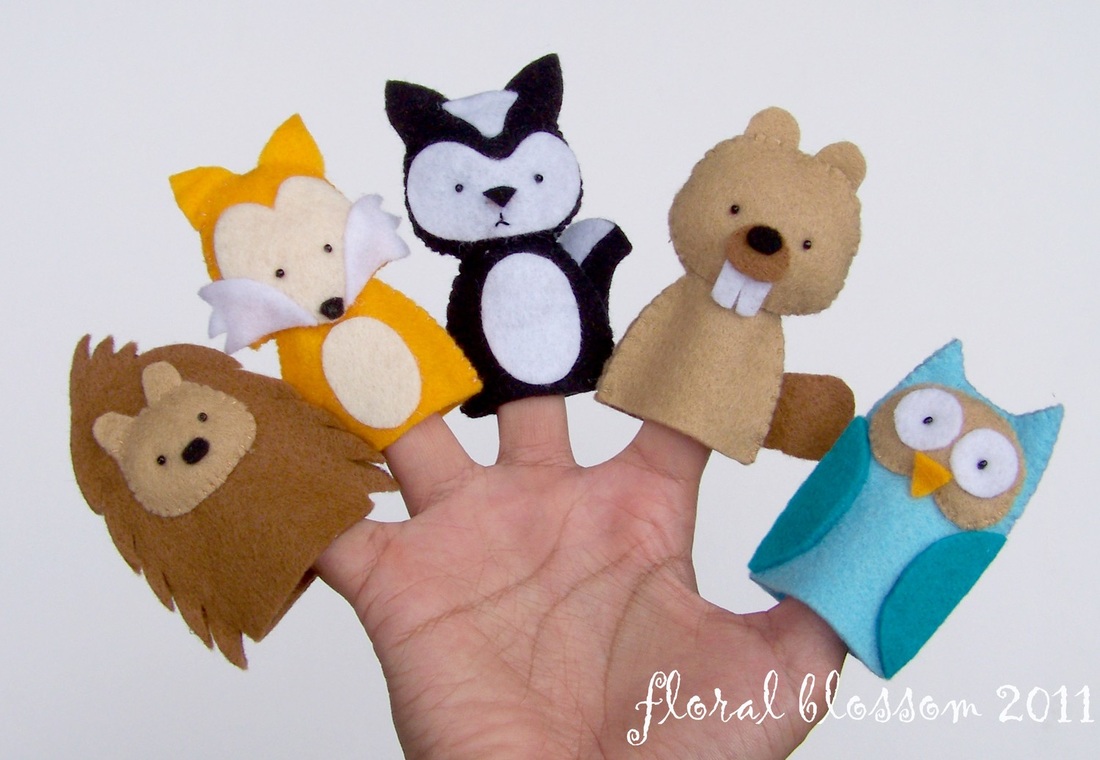
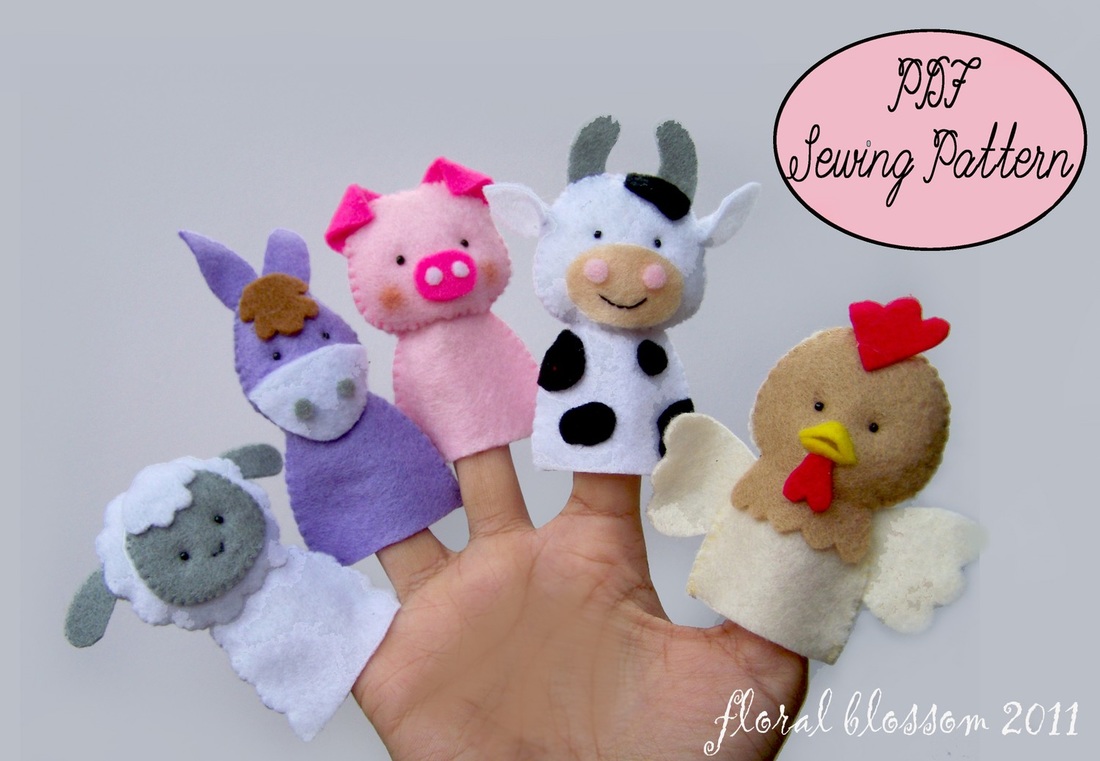
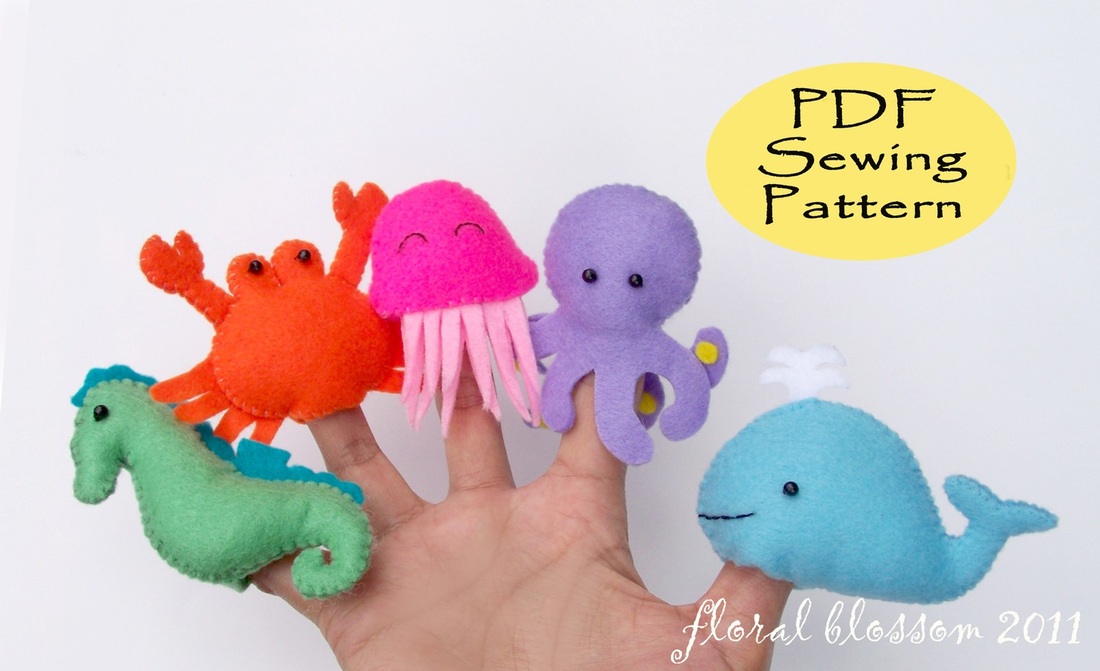
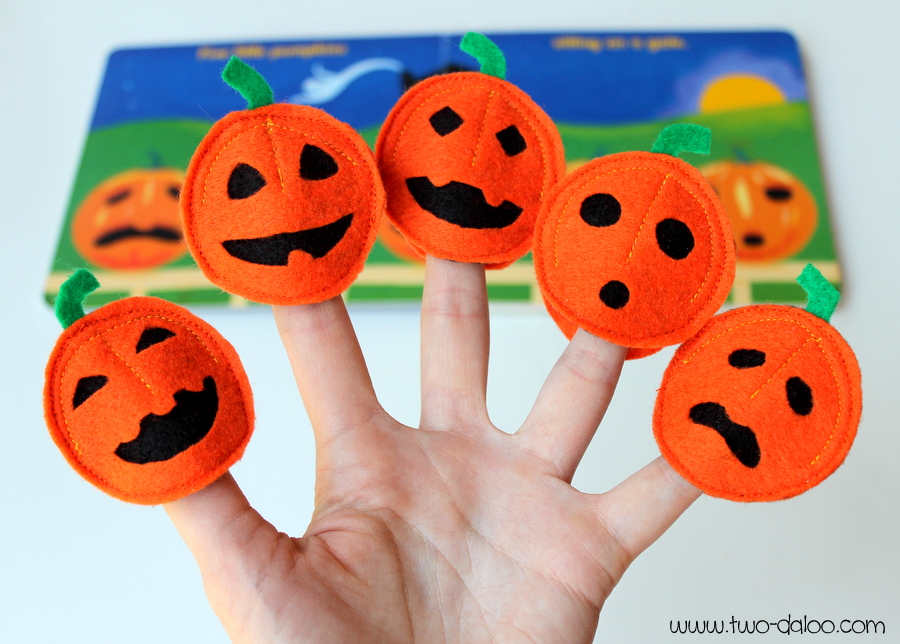
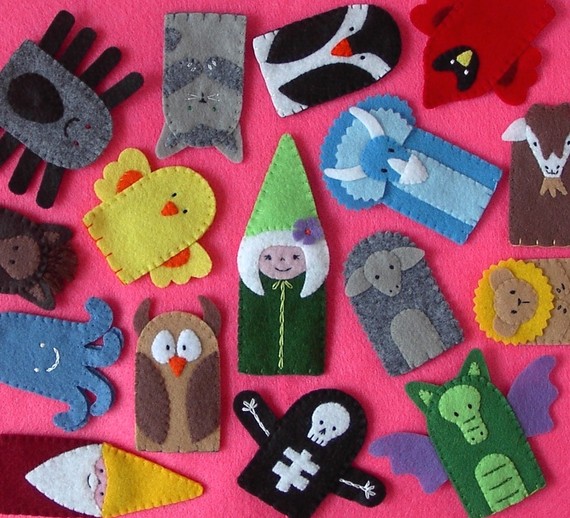
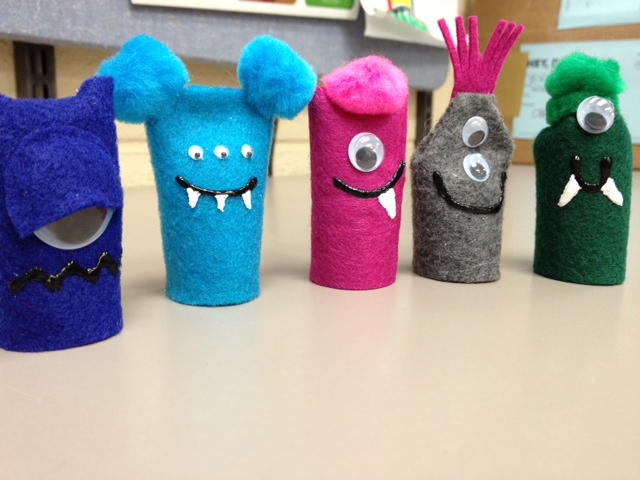
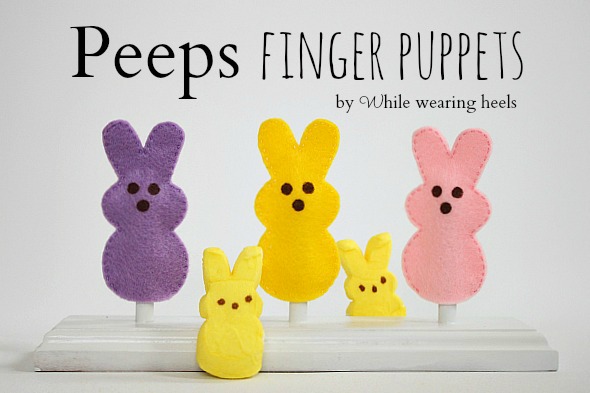
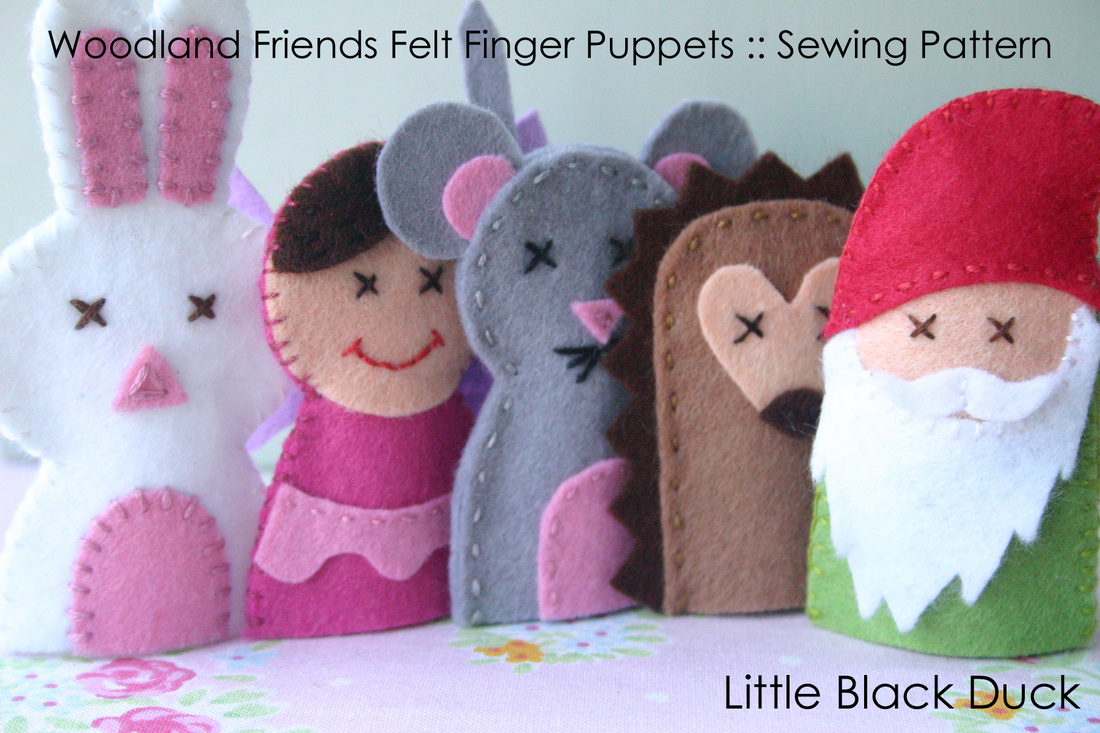
You will create a small hand puppet or multiple puppets based on one of your favourite characters from a fairy tale, nursery rhyme, or fable. Your puppet must be suitable for small children so it should be entertaining, yet durable. You must complete the following steps BEFORE starting your finger puppet:
|
|
For more project information, please see the PowerPoint presentation below.
|
| ||||
|
| ||||||||
|
|
|


Sewing Project (Intermediate)
For this section of the fibre arts unit, we will be learning how to sew intermediate level stitches by hand. We will learn more stitches and the purpose of these stitches before moving on to our sewing project.
Stitches (at the beginner level) that we will learn include (click on each stitch to see a video tutorial):
For a complete list of stitches and tutorials, check out the videos found here.
For this section of the fibre arts unit, we will be learning how to sew intermediate level stitches by hand. We will learn more stitches and the purpose of these stitches before moving on to our sewing project.
Stitches (at the beginner level) that we will learn include (click on each stitch to see a video tutorial):
- French Knot - Decorative stitch. Fun to create and makes for a nice detail that fills up an area quickly.
- Satin Stitch - Used when you want to fill in an area with solid lines. This is the quickest stitch to fill an area and it gives a variation of texture from the other stitches.
- Cross Stitch - An embroidery stitch that can be used by itself or in a row according to a guideline. It can be used to fill up an area.
- Chain Stitch - Versatile and commonly used stitch. It can outline a shape or create the petals of a flower. You can work this stitch in any direction.
For a complete list of stitches and tutorials, check out the videos found here.
Project Requirements:
You will create a small holiday ornament based on one of your personal interests. Your ornament must be suitable for display so it should be aesthetically pleasing, yet durable.
You must complete the following steps BEFORE starting your ornament:
You will create a small holiday ornament based on one of your personal interests. Your ornament must be suitable for display so it should be aesthetically pleasing, yet durable.
You must complete the following steps BEFORE starting your ornament:
- Draw your idea in your sketchbook/folder.
- Write a few sentences explaining why you picked that shape/character/design/etc.
- Complete samples of the following sewing stitches and include them in your sketchbook/folder (use the worksheet provided):
- French Knot
- Satin Stitch
- Cross Stitch
- Chain Stitch
|
| ||||
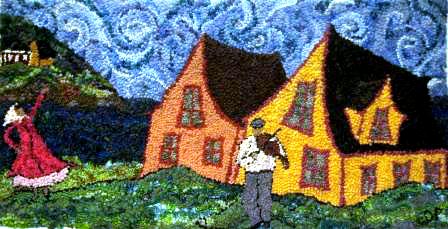
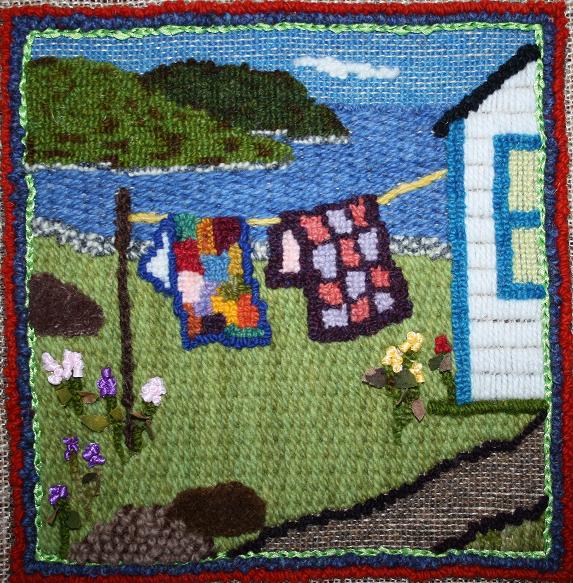
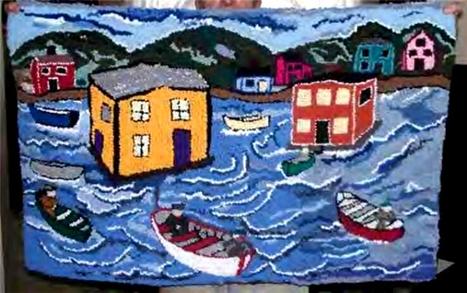
Rug Hooking Project
Rug hooking is both an art and a craft where rugs are made by pulling loops of yarn or fabric through a stiff woven base such as burlap, linen, or rug warp. The loops are pulled through the backing material by using a crochet-type hook mounted in a handle (usually wood) for leverage.
For your project, you will be creating a small hooked rug of a Christmas scene or of a traditional Newfoundland and Labrador scene. Rug hooking is very time consuming and will take up a lot of classes, so you choose the size of your project. If you work rather slowly, your design should be 5" x 7". If you work quickly and wouldn't mind taking your project home for a weekend or two, your design should be 8" x 10". You may also choose any size in between, such as 7" x 7", 8" x 8", etc.
Your hooked rugs will be evaluated based on the following:
Front
- design is neatly drawn, outside edge is drawn and hooked straight and shapes are clearly outlined
- all ends or tails are trimmed to the height of your loops
- there are no ends in sticking out of the corners
- spaces are filled in using a 'loopy' pattern, not in straight lines
- you shouldn't see any burlap showing through on the front
- material is flush against your burlap with no lumps or knots
- there there are no ends sticking out on the back - all ends are finished at the front
- there are no pieces of material stretched over a number of holes - all material is hooked through to the front. If you need to move to another area with the same colour, end the piece you are working with and start again in the next area.
|
|
|
Here are the steps we'll follow in hooking our rugs. I'll go over each of these in class, so don't worry if some of these seem confusing!
1. Draw a rectangle or square of the desired size of your rug in your folder. Draw your design for your rug inside this shape. Make sure you keep everything bold - small details won't show up in your rug.
2. Lay a piece of red dot material over your shape and trace your design with a sharpie marker.
3. Lay the red dot material in the center of a piece of burlap. You now have to draw the size of the shape on your burlap. Make sure your shape is centered! The next thing to remember is to stay in the ditch (or between the same two pieces of burlap string) as you make each line with your sharpie. Use a ruler to measure the length of your lines.
4. When your shape is drawn on your burlap, center it on a wooden frame. With a staple gun, put one staple in each side of the burlap, pulling the burlap tight. As you work your way around the frame with staples, remember to staple the sides opposite each other instead of working down one side at a time. When you reach the corners, fold any extra burlap underneath and staple it.
5. Outline each of your shapes and the outside edge of your square or rectangle with black material. Make sure you always start in the middle of a line and not in a corner. As well, you should keep all ends at the front - none should be sticking out the back. You should always end up with two pieces of material in one hole in the burlap. Again, we'll go through each of these steps in class.
For detailed information on the rug hooking project, please see the PowerPoint presentation below.
|
| ||||
For more information on traditional NL rug hooking, you can view this website. Here and here are a few useful websites on how to rug hook.
There are also very useful video tutorials for rug hooking here, here, and here. This video is a little longer, but very informative for beginners and this is the sequel.
There are also very useful video tutorials for rug hooking here, here, and here. This video is a little longer, but very informative for beginners and this is the sequel.
|
| ||||
