Winter Term Projects (January - June)
Colour Symbolism Sketchbook Project - Due January 8, 2016
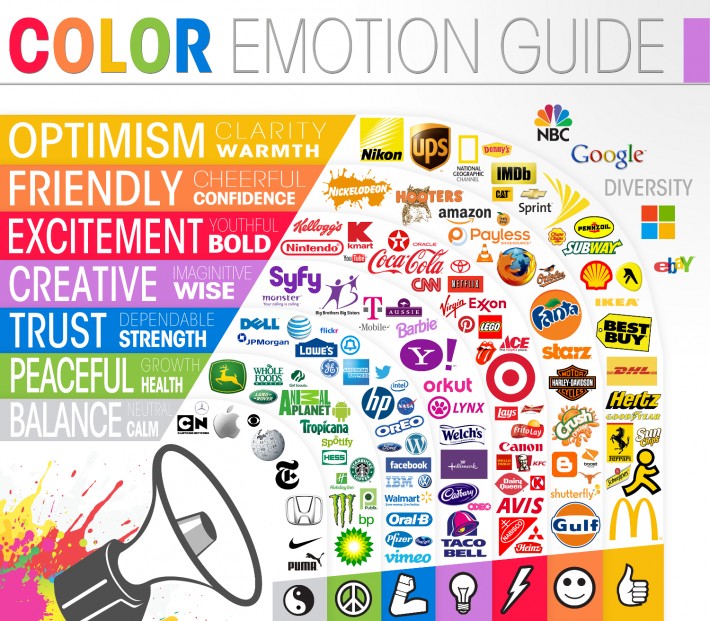
When studying art, it is important to understand that the colours and symbols that you use in your artworks will be interpreted differently by your audience. You can use colours to create specific emotions in your viewers to achieve the response that you want from your artwork. We will be exploring the differences between sensation and perception and how different people have different perceptions about different colours and how these colours can make you feel.
To explore colour symbolism, complete these questions for each of the following colours:
Red
Orange
Yellow
Green
Blue
Purple
Grey
Brown
Black
White
For more information on colour meanings and symbolism, you can view the PowerPoint presentations below which we will review in class.
When studying art, it is important to understand that the colours and symbols that you use in your artworks will be interpreted differently by your audience. You can use colours to create specific emotions in your viewers to achieve the response that you want from your artwork. We will be exploring the differences between sensation and perception and how different people have different perceptions about different colours and how these colours can make you feel.
To explore colour symbolism, complete these questions for each of the following colours:
- What emotion/feeling does the colour represent for you? Why?
- List 3 things the colour reminds you of.
Red
Orange
Yellow
Green
Blue
Purple
Grey
Brown
Black
White
- You will be completing these questions in your artbook. Your artbook pages with the questions should be creative and artistic.
For more information on colour meanings and symbolism, you can view the PowerPoint presentations below which we will review in class.
|
|
|
| ||||||||
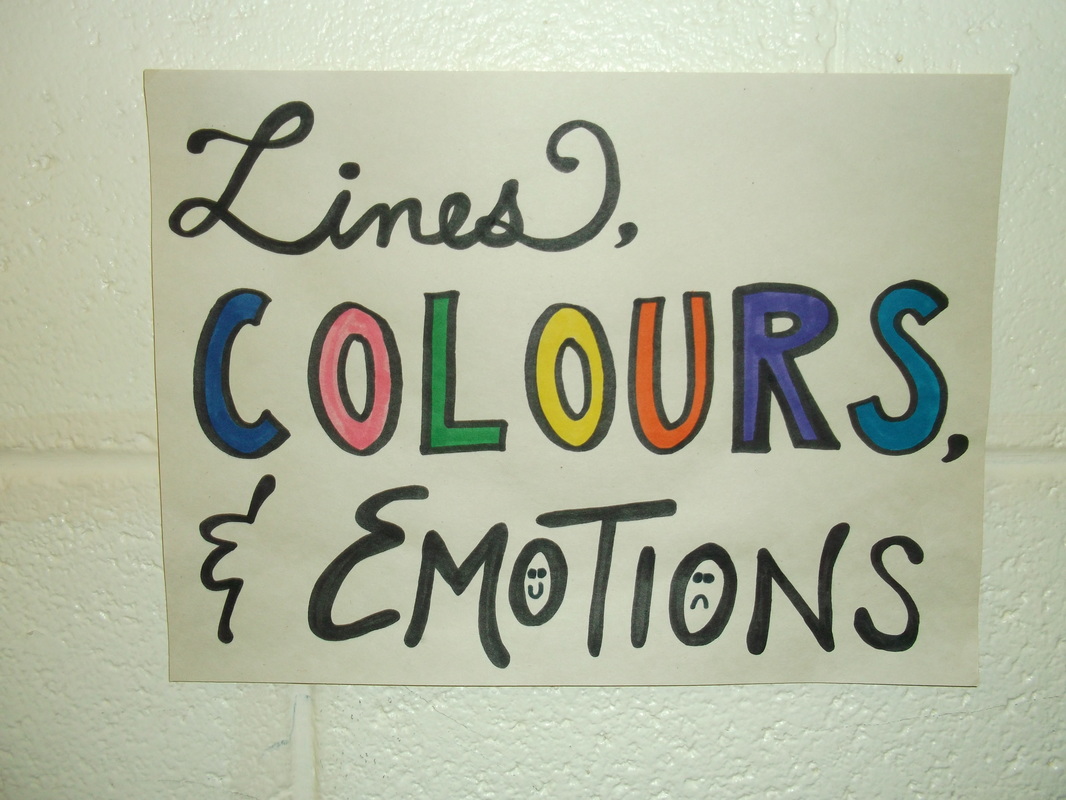
Lines, Colours, and Emotions - Due January 22, 2015
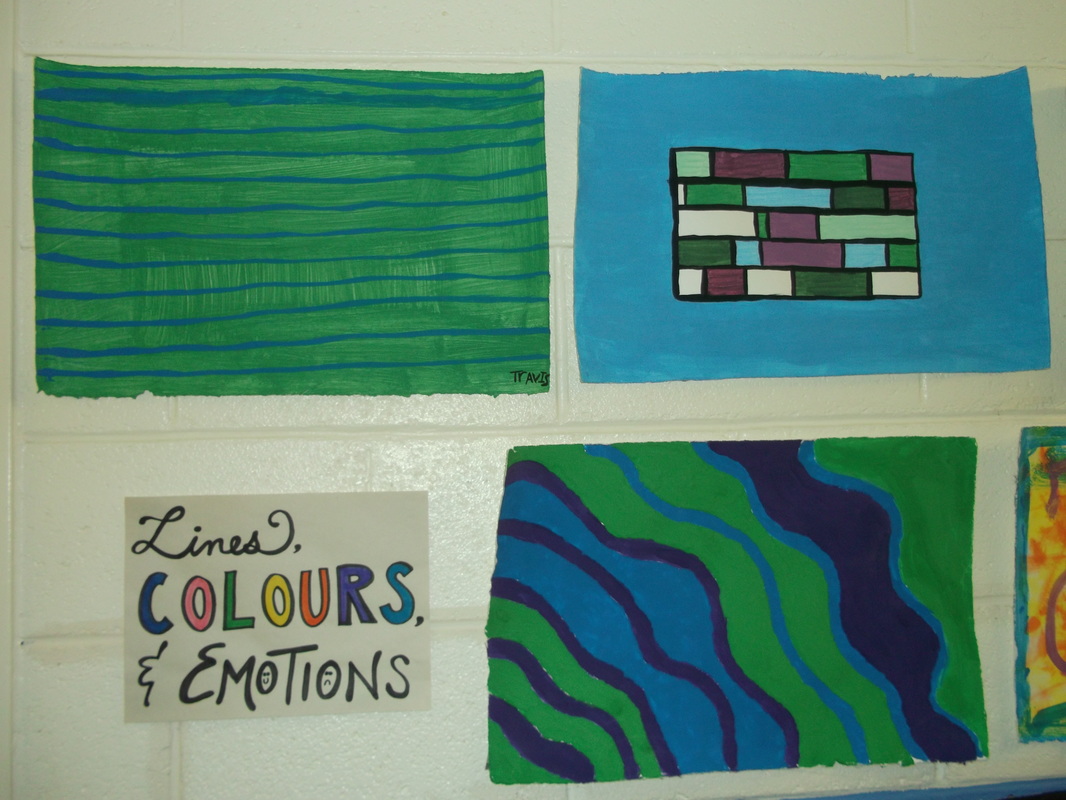
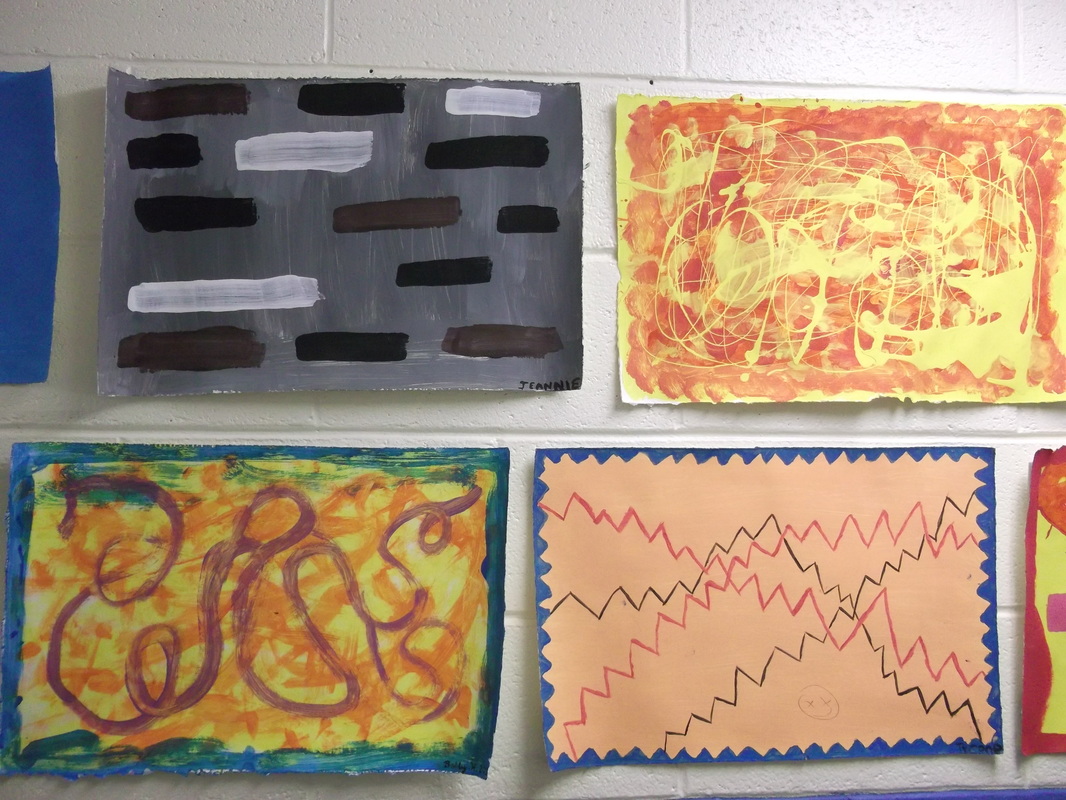
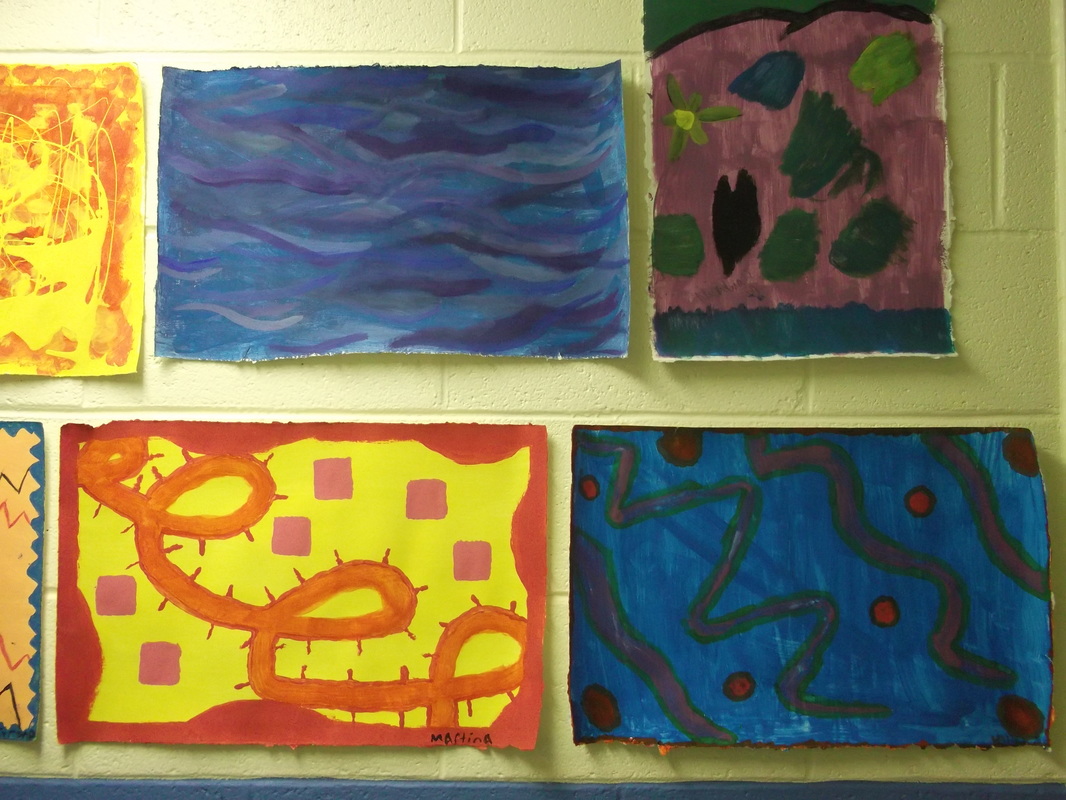
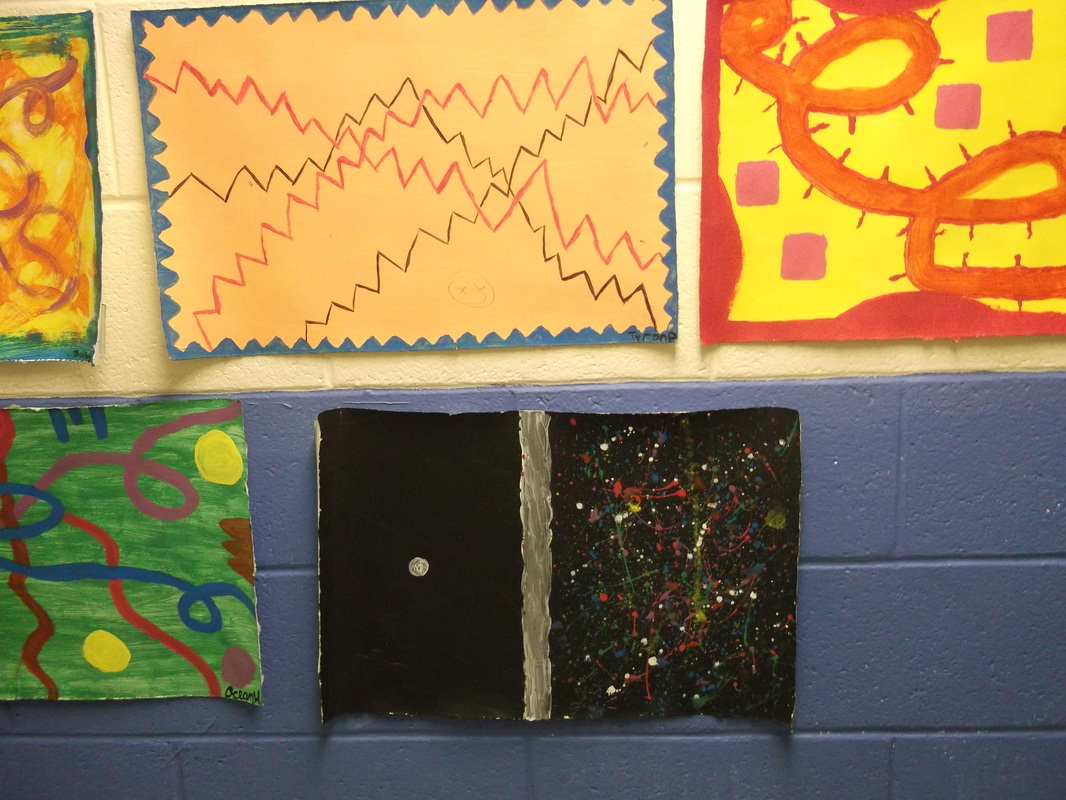
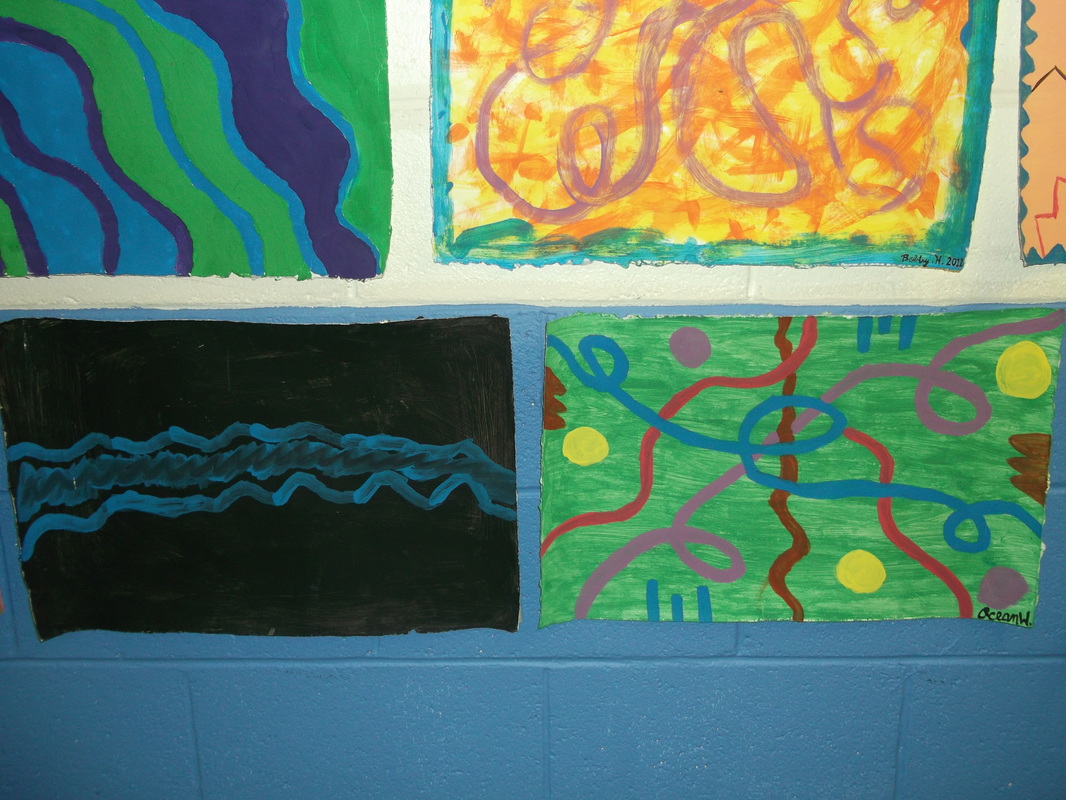
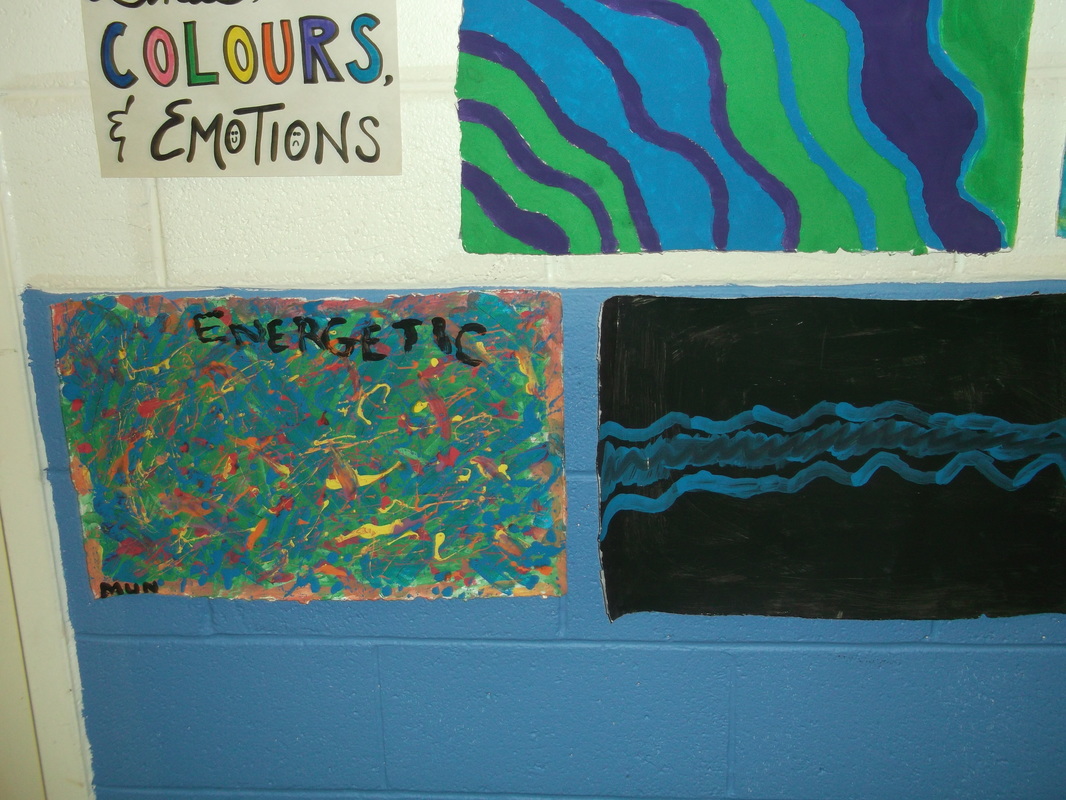
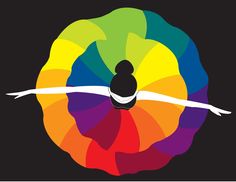
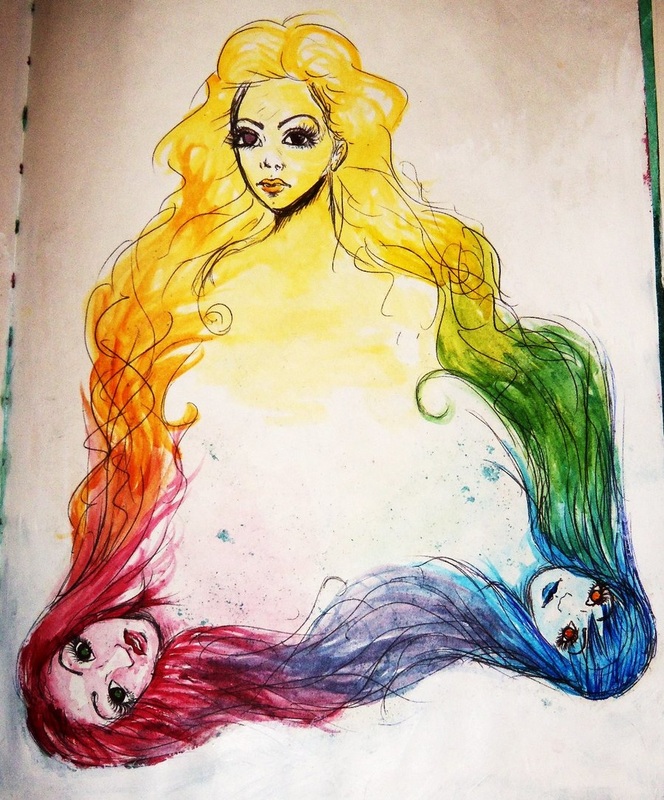
For this project we will use the information that we learned about colour meanings and apply it to a painting. First you will choose 10 emotions and try to create a drawing that represents each emotion using only lines, patterns, shapes, and colours. Each of your emotions will be an abstract drawing. Each drawing will be a small sketch, so all 10 will fit on one page of your sketchbook.
An abstract is an artwork that does not look like anything representative. It is art that does not attempt to represent external reality, but seeks to achieve its effect using shapes, forms, colours, and textures.
After you have completed the 10 abstract emotion drawings in your sketchbook, you will then choose the best sketch to use for an emotion painting. You will copy the sketch onto your painting paper and choose colours that best represent the emotion that you are trying to convey. If others can accurately guess what emotion you have represented, then your artwork will be a success!
|
| ||||
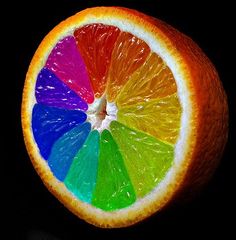
Colour Wheel - Due February 5, 2016
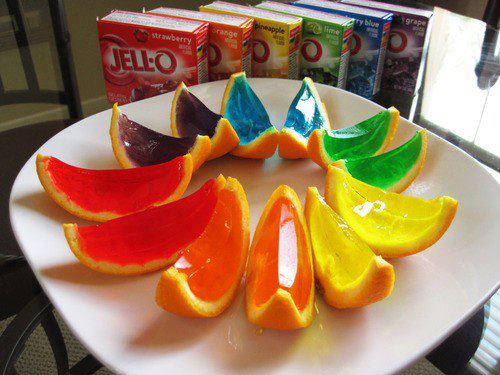
Using only the 3 primary colours, you will mix and fill in all the primary, secondary, and tertiary spaces of your colour wheel. Remember to give the hue and type for each colour on your wheel.
Using only the 3 primary colours, you will mix and fill in all the primary, secondary, and tertiary spaces of your colour wheel. Remember to give the hue and type for each colour on your wheel.
|
| ||||
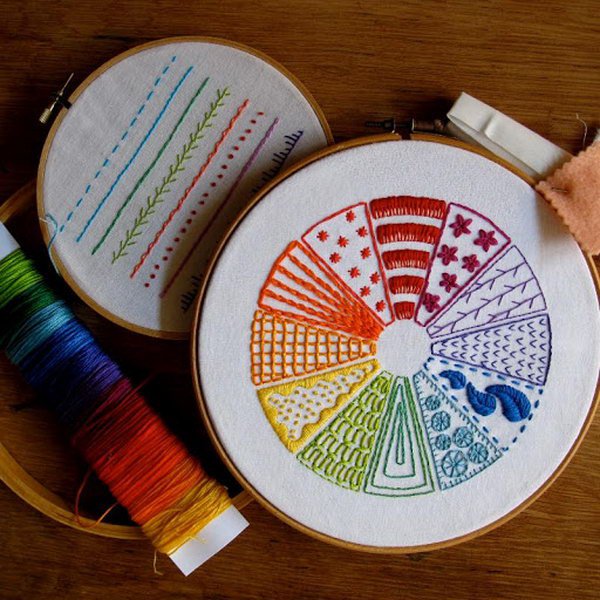
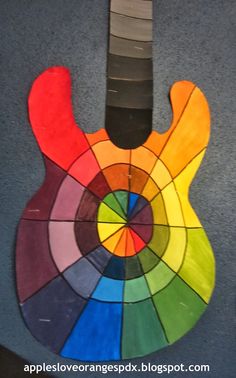
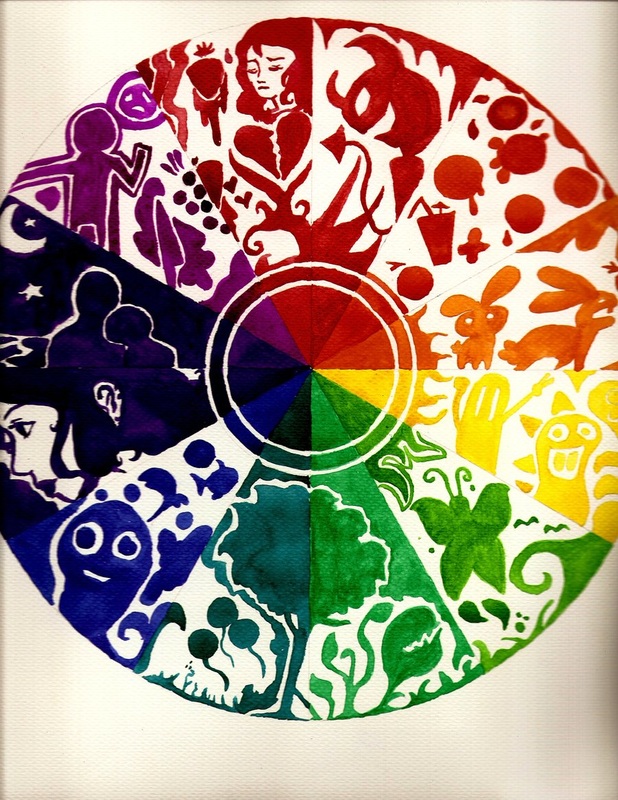
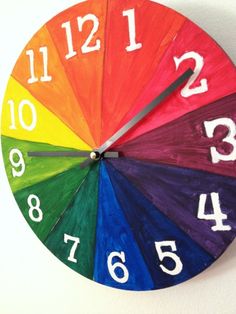
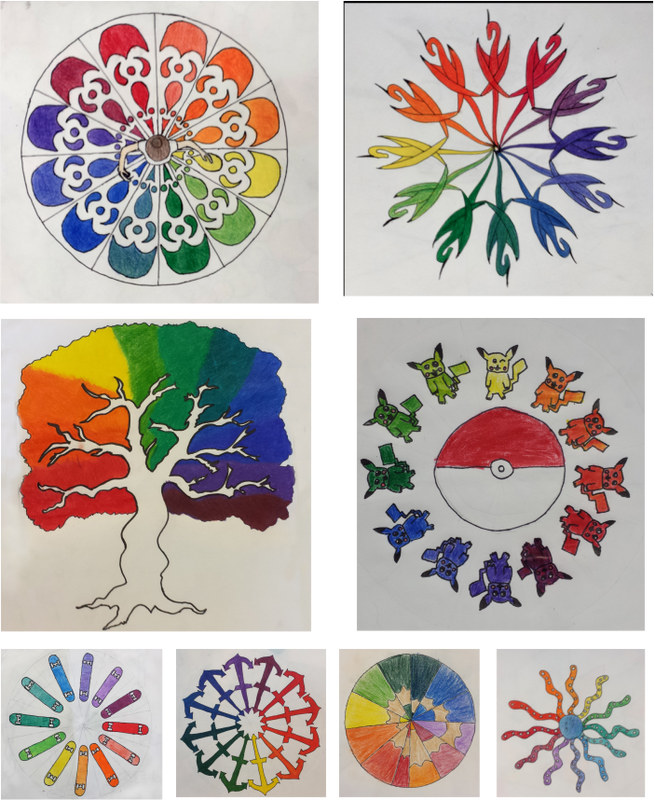
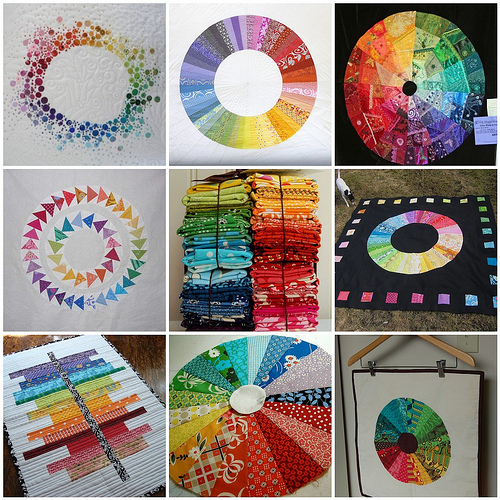
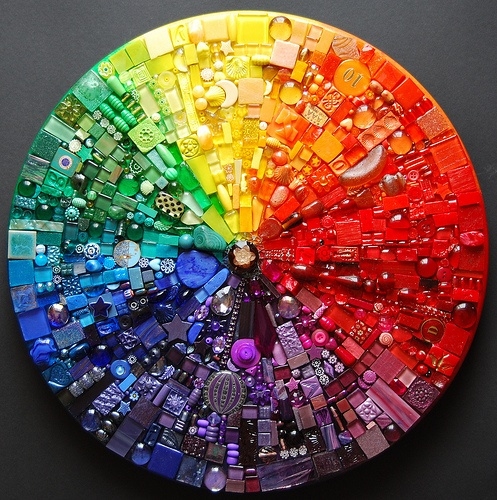
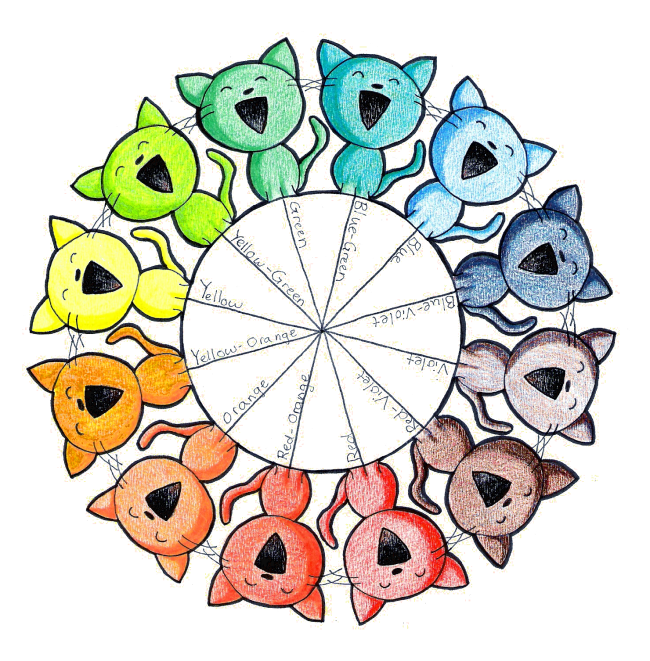
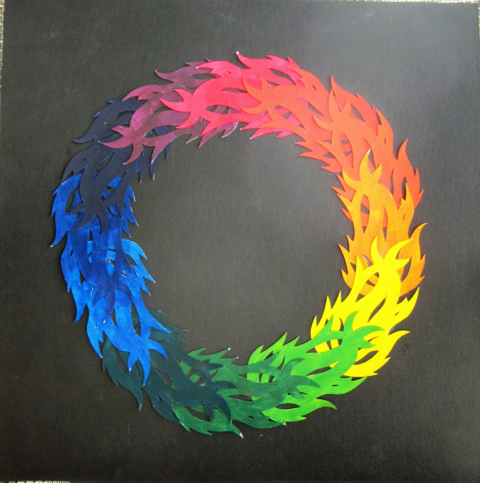
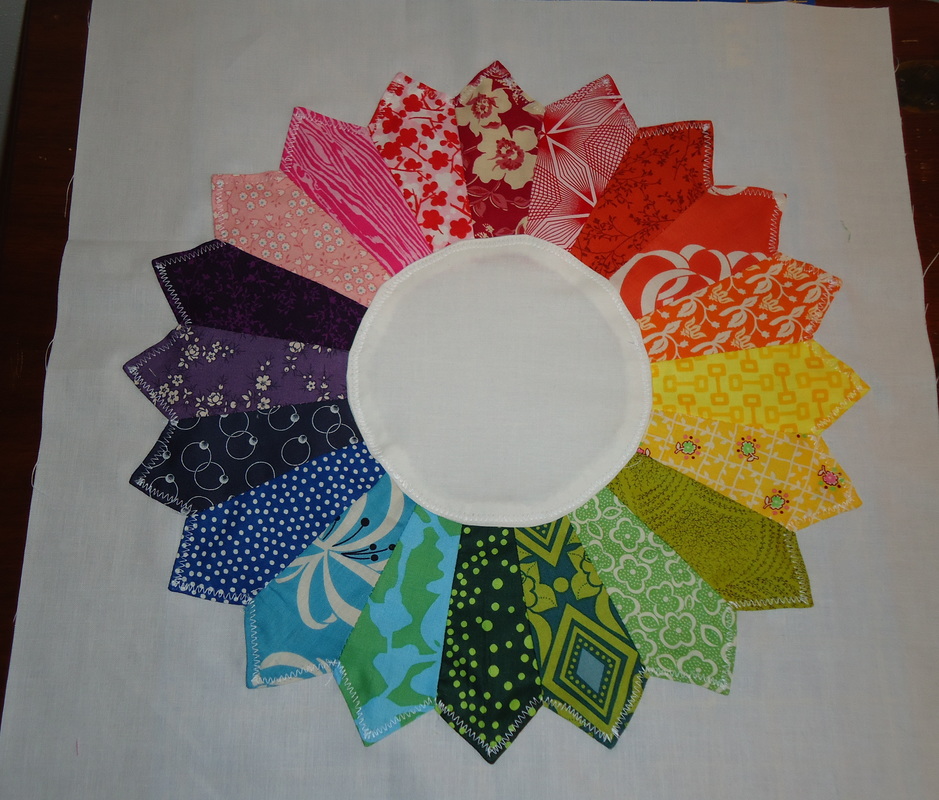
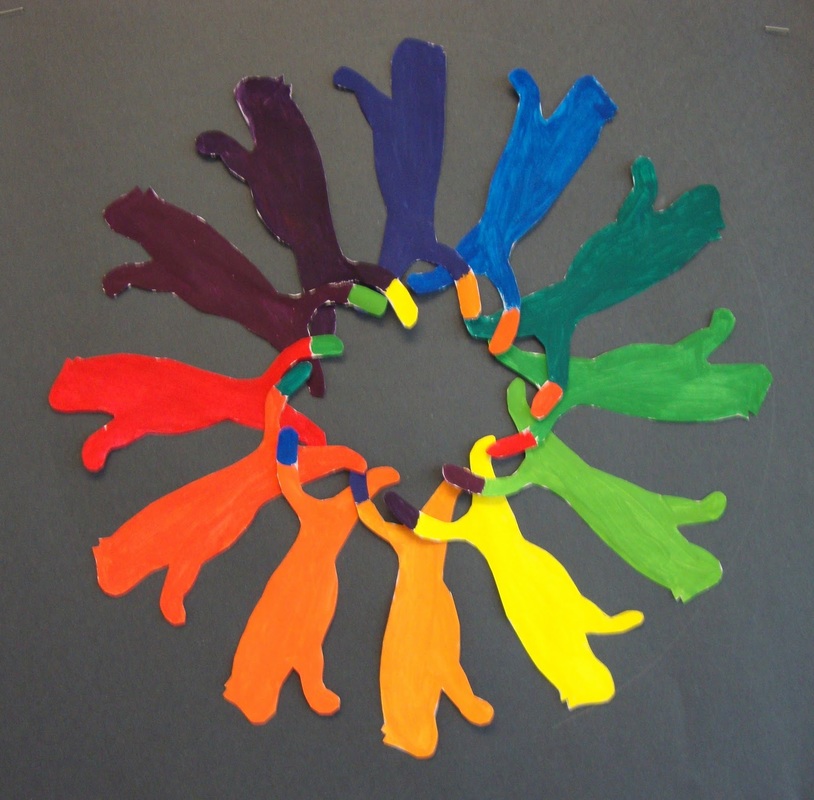
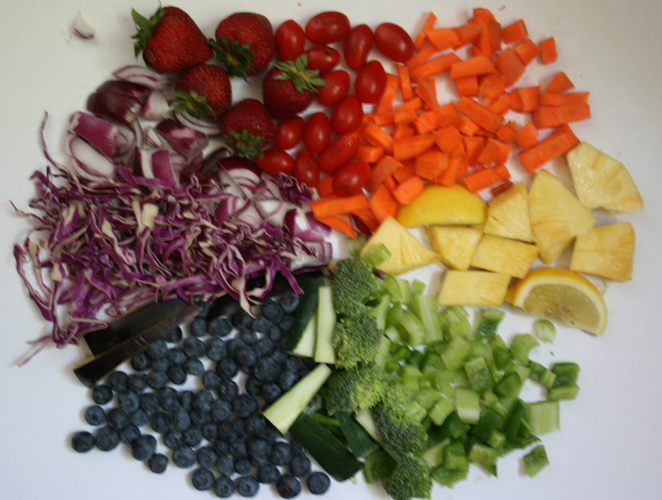
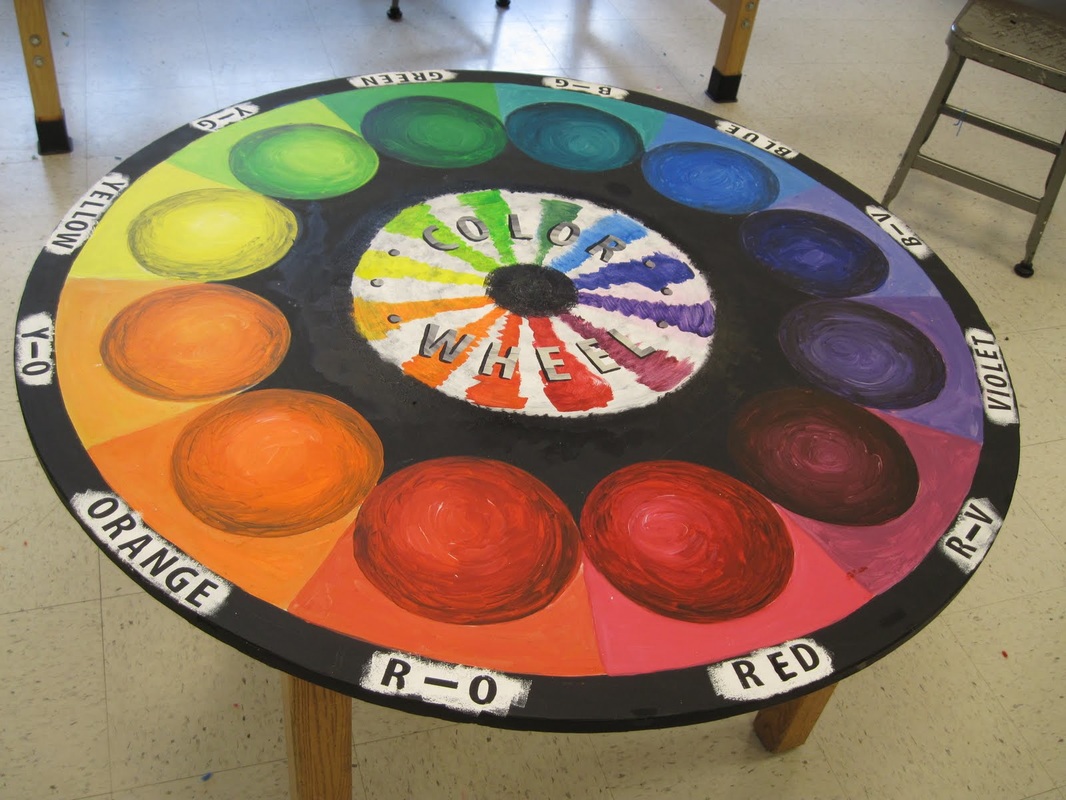
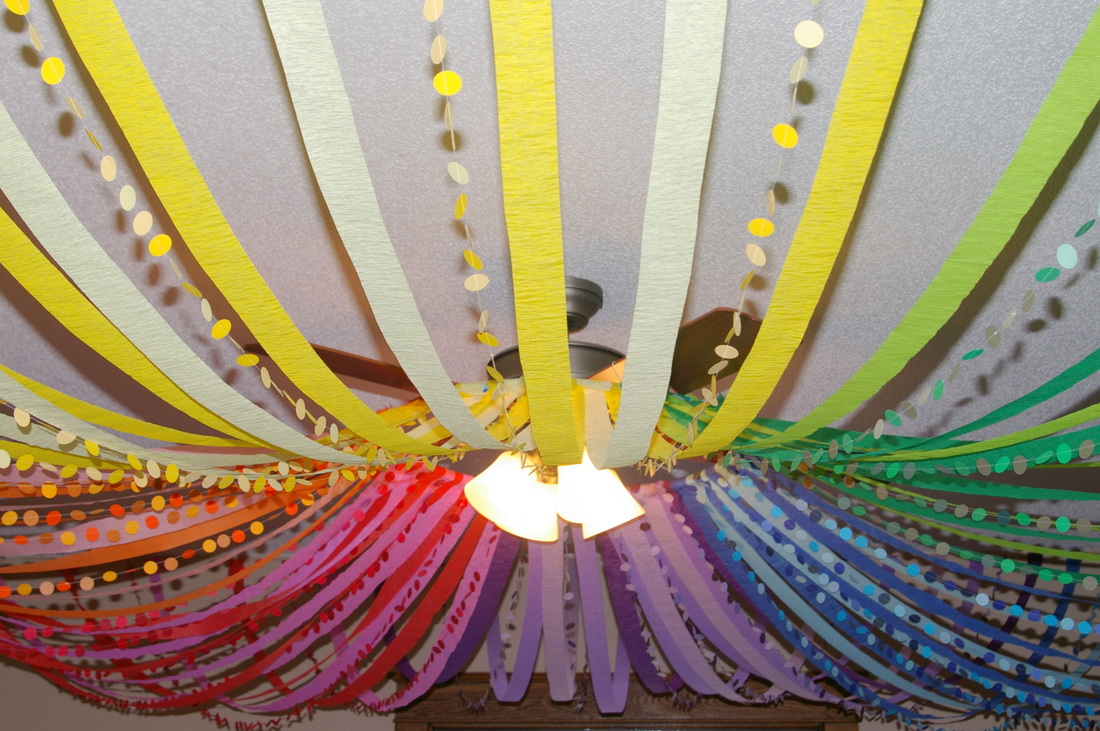
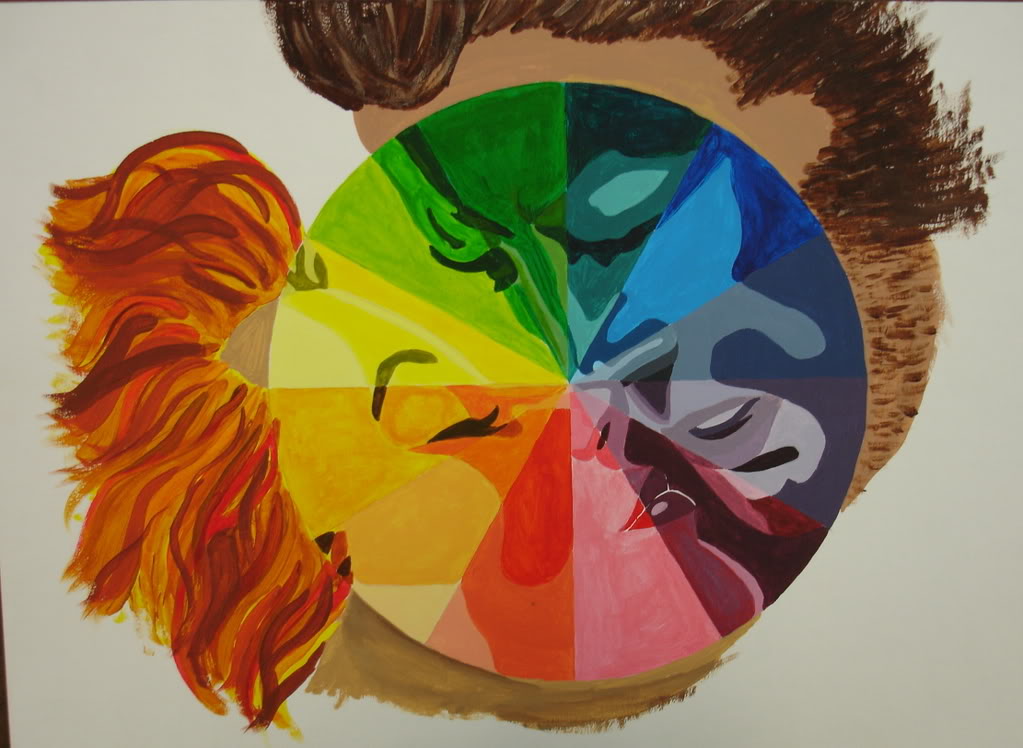
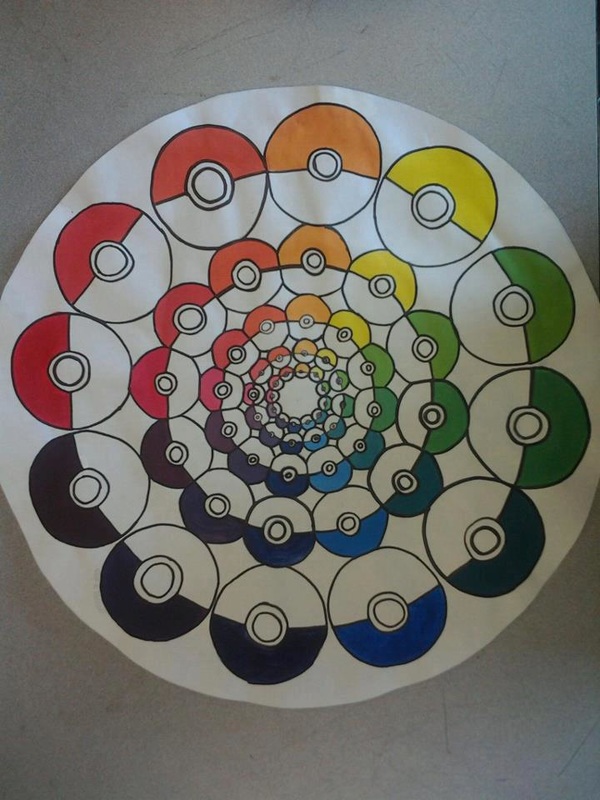
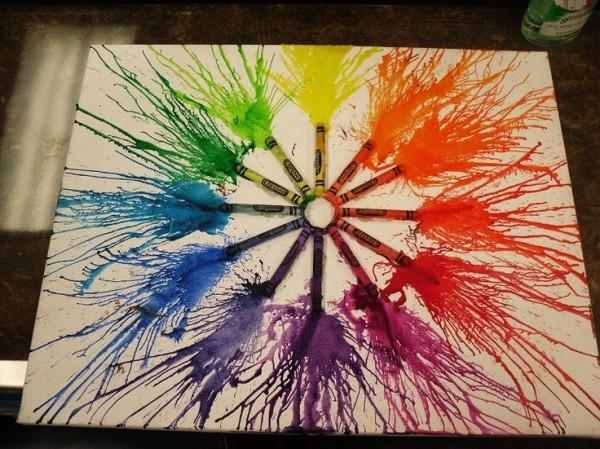
Creative Colour Wheel - Due February 26, 2016
You will create your own version of the colour wheel by painting, drawing, assembling, etc. Be creative!
You will create your own version of the colour wheel by painting, drawing, assembling, etc. Be creative!
| creative_colour_wheel_rubric.doc |


Hidden Images Hand Drawing - Due March 24, 2016
For this project you will create a drawing that represents your unique personality. You will have to include personal imagery to make the drawing unique to your personality. You will learn a variety of pen and ink techniques to create patterns such as hatching, cross hatching, and stippling.
In your hidden image drawing, you must include:
For detailed instructions, please download the document below.
For this project you will create a drawing that represents your unique personality. You will have to include personal imagery to make the drawing unique to your personality. You will learn a variety of pen and ink techniques to create patterns such as hatching, cross hatching, and stippling.
In your hidden image drawing, you must include:
- Your hand
- Colour scheme for images/patterns in your hand
- Minimum of 3 pen and ink techniques
- Minimum of 5 objects to represent personality
For detailed instructions, please download the document below.

| hidden_images_hand_drawing_instructions.doc |
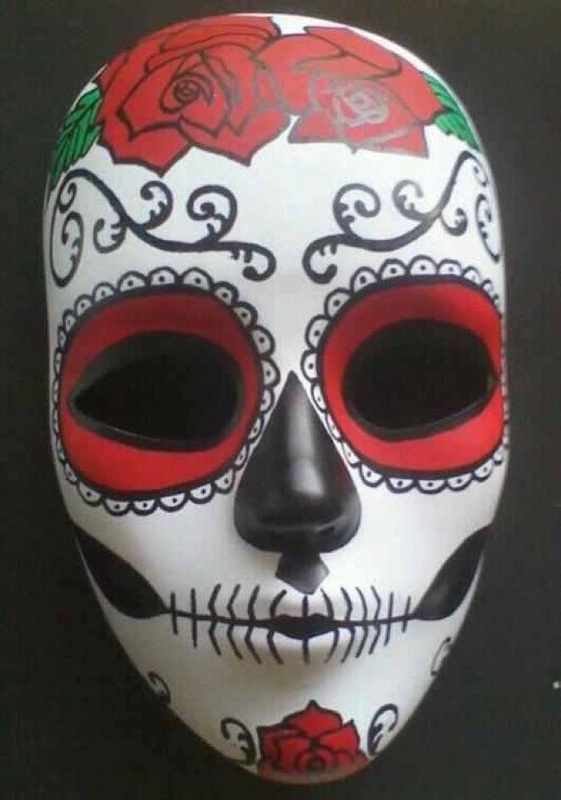
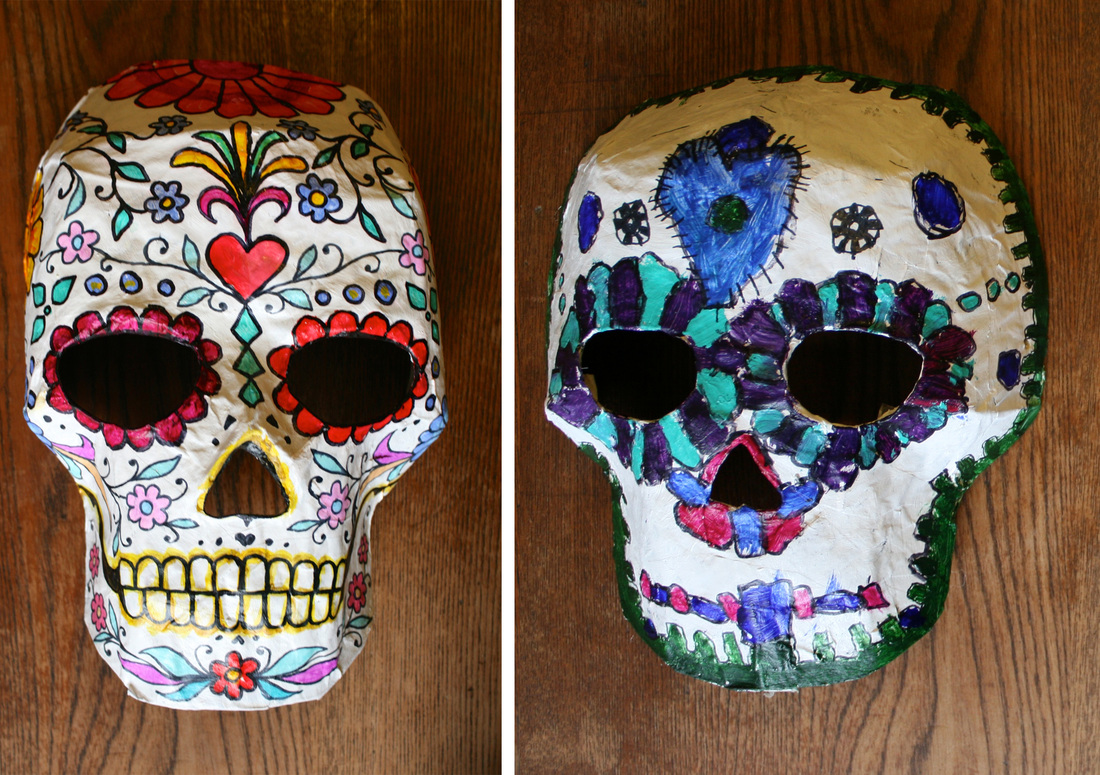
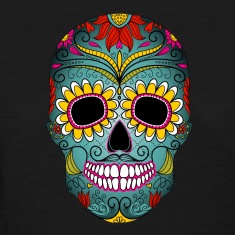
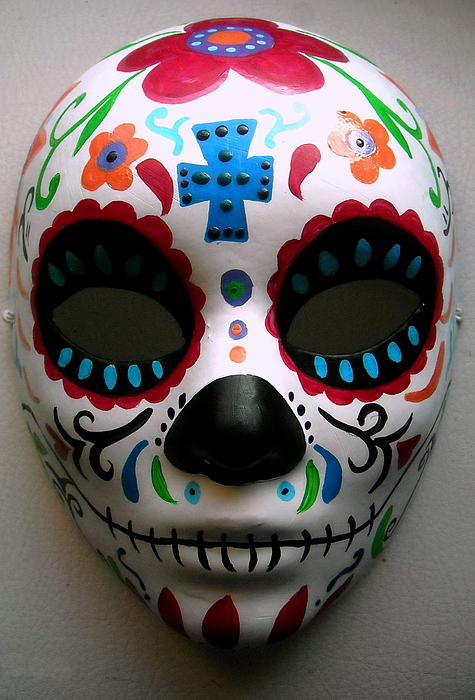
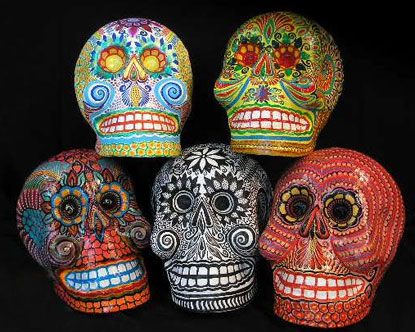
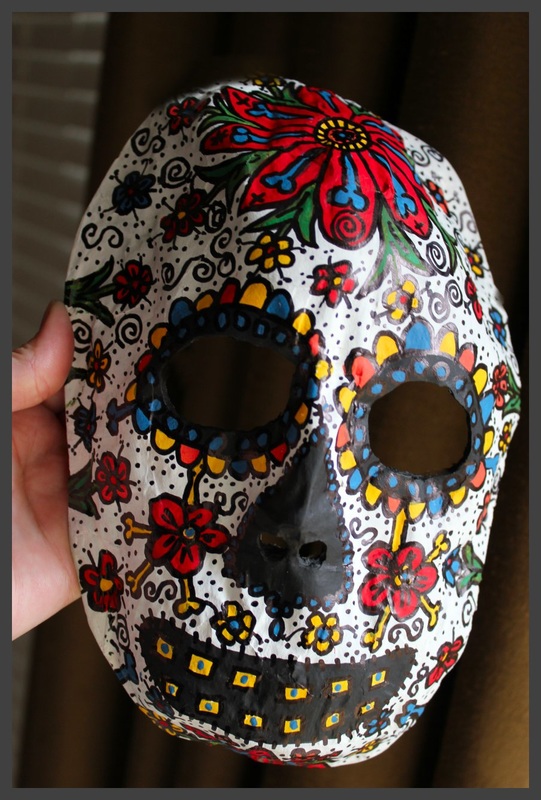
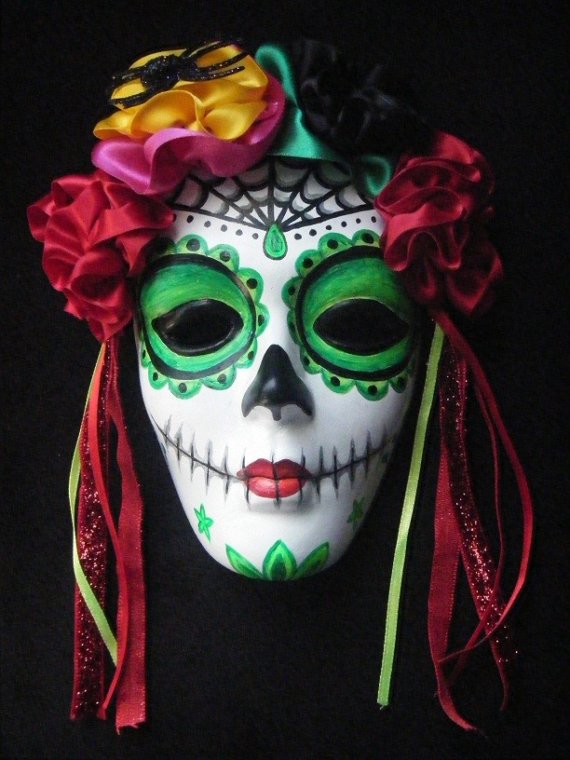
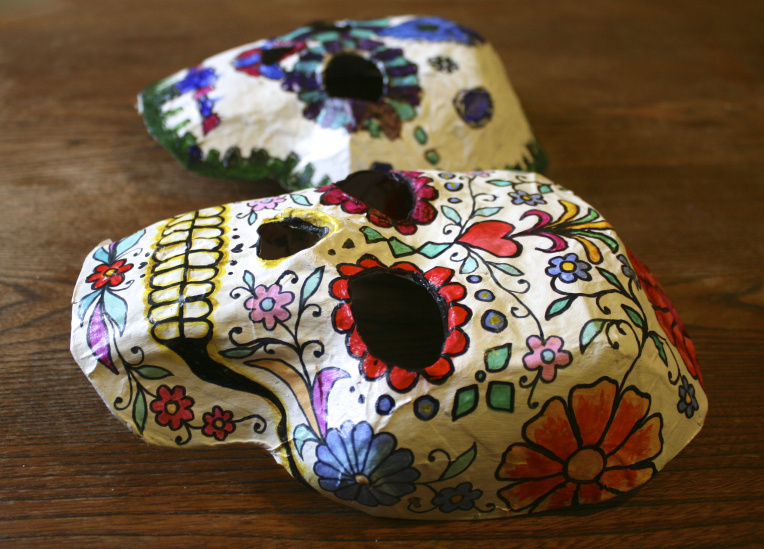
Paper Mache Masks - Due ???
You will design a paper mache mask that will be centred around the Day of the Dead festival. Interesting information on the Day of the Dead festival can be found here.
You will search for some interesting Day of the Deal skull masks. Sketch out 3-5 of our favourite designs and keep them in your folder.
Draw a unique design for your Day of the Dead mask in your sketchbook. You may use elements in your design that you have seen in your reserach, such as symbols, patterns, and lines. Remember, your mask must be suitable for the Day of the Dead festival.
Follow the worksheet below to complete your mask.
Try to be creative and represent your personality!
|
|
| ||||
One Point Perspective Video Game Scene - Due ???
For this project, we will learn how to draw using one point perspective. Before we get to our project, we will practice using 1-point perspective.
Perspective - The appearance of things in relation to one another.
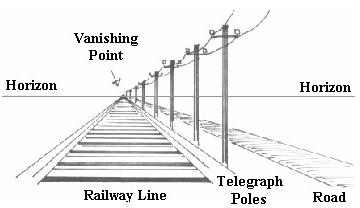
Horizon Line - The line in a perspective drawing where the sky meets the ground. It also represents the viewer’s eye level. That is, the placement of the line on the picture plane depends on the vantage point of the artist. For example, if the artist is low to the ground, the horizon line is low on the picture plane. You can see the top of an object if it is below eye level, below the horizon line. If an object is above eye level, above the horizon line, you can not see its top.
Vanishing Point - the point at which receding parallel lines viewed in perspective appear to converge. The point at which something that has been growing smaller or increasingly faint disappears altogether.
Orthogonal Line - Literally, a line which is at right angles to another. In linear perspective drawings, it is the line you draw from the corner of an object to the vanishing point. It establishes the illusion of a perpendicular line going into the distance. Orthogonal lines should always be drawn lightly at first. Usually, most of an orthogonal will be erased.
Foreground - The front of an artwork. Objects/people that are in the foreground are closer. Objects/people that are in the foreground should be drawn larger, closer to the bottom of the page, darker, and have more detail. If you are using colour, you can also use warm colours to make the objects/people appear to be closer.
Middle ground - The middle area of an artwork.
Background - The back of an artwork. Objects/people that are in the background are the farthest away in the artwork. Objects/people that are in the background should be drawn smaller, higher up on the page (closer to the horizon line), lighter, and with less detail. If you are using colour, you can also use cool colours to make the objects/people appear to recede.
For detailed information on 1 and 2 point perspective, we will view the following PowerPoint presentations in class.
For this project, we will learn how to draw using one point perspective. Before we get to our project, we will practice using 1-point perspective.
Perspective - The appearance of things in relation to one another.
Horizon Line - The line in a perspective drawing where the sky meets the ground. It also represents the viewer’s eye level. That is, the placement of the line on the picture plane depends on the vantage point of the artist. For example, if the artist is low to the ground, the horizon line is low on the picture plane. You can see the top of an object if it is below eye level, below the horizon line. If an object is above eye level, above the horizon line, you can not see its top.
Vanishing Point - the point at which receding parallel lines viewed in perspective appear to converge. The point at which something that has been growing smaller or increasingly faint disappears altogether.
Orthogonal Line - Literally, a line which is at right angles to another. In linear perspective drawings, it is the line you draw from the corner of an object to the vanishing point. It establishes the illusion of a perpendicular line going into the distance. Orthogonal lines should always be drawn lightly at first. Usually, most of an orthogonal will be erased.
Foreground - The front of an artwork. Objects/people that are in the foreground are closer. Objects/people that are in the foreground should be drawn larger, closer to the bottom of the page, darker, and have more detail. If you are using colour, you can also use warm colours to make the objects/people appear to be closer.
Middle ground - The middle area of an artwork.
Background - The back of an artwork. Objects/people that are in the background are the farthest away in the artwork. Objects/people that are in the background should be drawn smaller, higher up on the page (closer to the horizon line), lighter, and with less detail. If you are using colour, you can also use cool colours to make the objects/people appear to recede.
For detailed information on 1 and 2 point perspective, we will view the following PowerPoint presentations in class.
|
|
| |||||||
|
|
| |||||||
For this project, you will design your very own video game scene. You'll create your own environment and characters. We'll be using the rules from drawing in one point perspective that we covered in the exercises for our optical illusions. Click on the link below to find the project guidelines. Have fun!
Here are some 1 Point Perspective worksheets that we will complete before we start our video game project.
Here are some 1 Point Perspective worksheets that we will complete before we start our video game project.
|
|
|
| ||||||||
|
| ||||
Pop Art Food - Due ???
This is last big project of the year. For this project we will first study the Pop Art movement and Pop Artists of the 1950s-60s. We will then look at the different types of food related artworks that were created during this movement. You will then create 2 pieces of food art in the style of Pop Art. The first artwork will be 3-dimensional and the second piece will be 2-dimensional. Due to the limited time remaining for this project, we may not have time to complete the second part of this project.
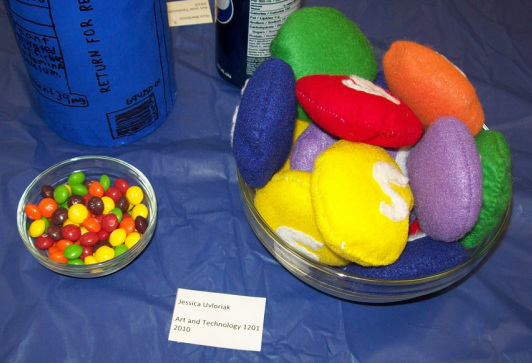
Part A: Pop Art Food Sculpture
For this part of the project, you will choose a food item to recreate. You will be recreating this food item with fabric and other sewing materials. Your food item must be larger than life, neat, detailed, and original. Remember to be creative!
You will following these steps to complete the project:
Part B: Pop Art Food Image
For this part of the project, you will choose a different food item to recreate. This artwork can be a drawing, painting, or a collage. Your artwork must be larger than life, neat, detailed, and original. Remember to use Pop Art styles and be creative!
You will use the following steps to complete the project:
For more information on this project and sample artworks, please see the PowerPoint presentation below.
This is last big project of the year. For this project we will first study the Pop Art movement and Pop Artists of the 1950s-60s. We will then look at the different types of food related artworks that were created during this movement. You will then create 2 pieces of food art in the style of Pop Art. The first artwork will be 3-dimensional and the second piece will be 2-dimensional. Due to the limited time remaining for this project, we may not have time to complete the second part of this project.
Part A: Pop Art Food Sculpture
For this part of the project, you will choose a food item to recreate. You will be recreating this food item with fabric and other sewing materials. Your food item must be larger than life, neat, detailed, and original. Remember to be creative!
You will following these steps to complete the project:
- Choose a food item to recreate
- Write ½ page in your sketchbook explaining why you chose that food item
- Sketch food item with details on how you plan to recreate it
- Create food sculpture using fabric and other materials
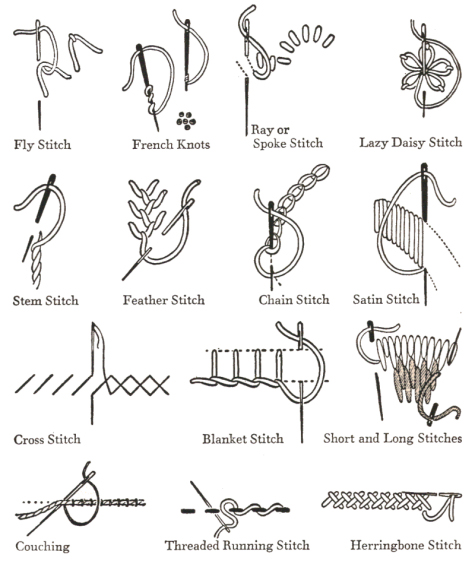
- Add details to your food item by sewing on extra fabric or by using various sewing techniques/stitches
Part B: Pop Art Food Image
For this part of the project, you will choose a different food item to recreate. This artwork can be a drawing, painting, or a collage. Your artwork must be larger than life, neat, detailed, and original. Remember to use Pop Art styles and be creative!
You will use the following steps to complete the project:
- Choose a food item to recreate
- Write ½ page in your sketchbook explaining why you chose that food item
- Sketch food item with details on how you plan to recreate it
- Recreate food item by drawing, painting, or gluing materials to image.
For more information on this project and sample artworks, please see the PowerPoint presentation below.
|
| ||||
|
| ||||
