ARt and Design 3200
Unit 1: Drawing
Fall Term Projects (September - December)
We'll start this unit by practicing some basic drawing techniques. Then we'll experiment with different mark-making tools, such as pencils, charcoal, pen and ink, and pastels that we'll use in our drawings. If you miss a class, you should be able to catch up at home by following each lesson.
Doodle Drawing (Introductory Project)
For this project, we will look at doodle drawings and designs. A doodle is an unfocused or unconscious drawing made while a person's attention is otherwise occupied. Doodles are simple drawings that can have concrete representational meaning or may just be abstract shapes. Stereotypical examples of doodling are found in school notebooks, often in the margins, drawn by students daydreaming or losing interest during class. Other common examples of doodling are produced during long telephone conversations if a pen and paper are available.
Because you will be learning how to express yourself through art, you will focus your doodle around yourself. You will choose an image to represent you to draw in the center of your page (this will be your focal point) and then fill the rest of your page with random doodles, shapes, lines, words, and patterns. Your drawing will be completed in pencil, outlined with marker, and then coloured completely. Please try your best to keep your project neat.
This project will help me to get to know you as an artist and express your personality. Remember to be creative!
Examples of doodle meanings can be found here and here.
Examples of art doodles can be found here and here are examples of doodles found in Google.
For detailed instructions, please see the PowerPoint presentation below.
|
| ||||||||||||
| doodle_drawing_rubric.pdf | |
| File Size: | 54 kb |
| File Type: | |
Elements of Design
There are seven elements of design: line, shape, form, colour, value, space and texture. For more details and information, please see the PowerPoint presentation below that we will view in class.
There are seven elements of design: line, shape, form, colour, value, space and texture. For more details and information, please see the PowerPoint presentation below that we will view in class.
| elements_of_design2.pdf | |
| File Size: | 2682 kb |
| File Type: | |
Principles of Design
The principles of design consist of unity, variety, emphasis, contrast, rhythm, movement, balance, pattern and proportion. These principles are used to arrange the elements of design in such a way to convey or express meaning in an artwork. For more details and information, please see the PowerPoint presentation below that we will view in class.
The principles of design consist of unity, variety, emphasis, contrast, rhythm, movement, balance, pattern and proportion. These principles are used to arrange the elements of design in such a way to convey or express meaning in an artwork. For more details and information, please see the PowerPoint presentation below that we will view in class.
| principles_of_design2.pdf | |
| File Size: | 2196 kb |
| File Type: | |
|
| ||||||||||||
You will complete a few worksheets on value and shading before we start talking about specific types of drawing.
Drawing Lesson 1: Blind Contour Drawing
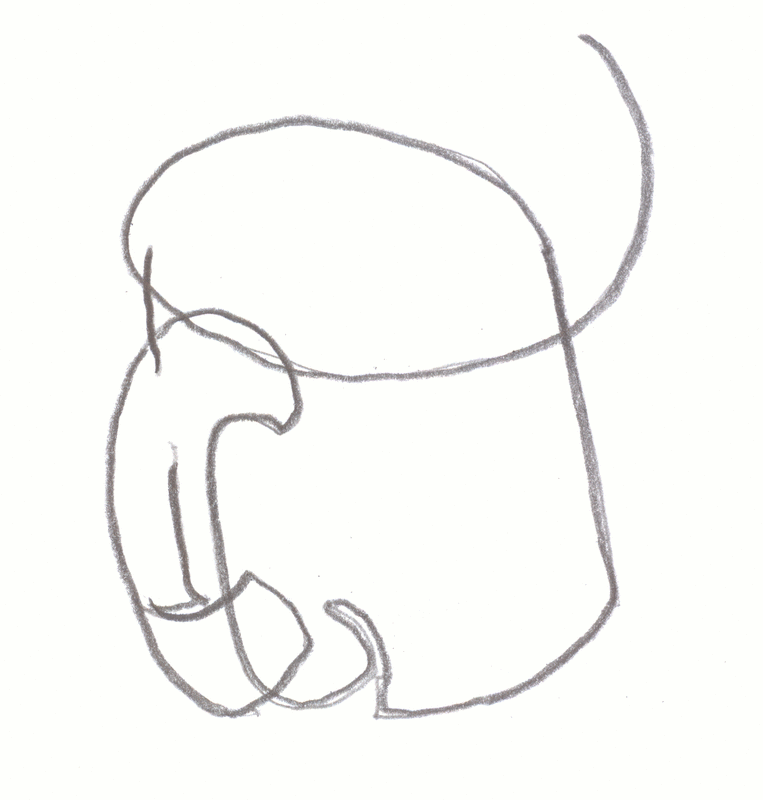
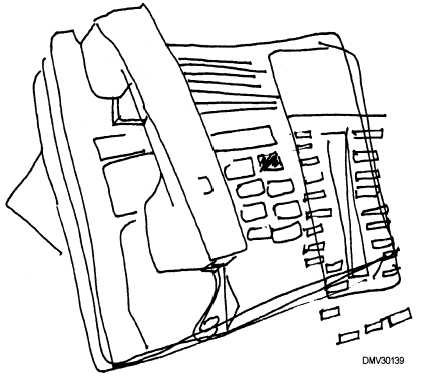
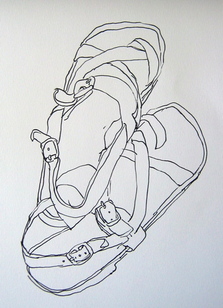
The main thing you need to remember when drawing something from life is to really look at what it is you're drawing. You really need to turn off your brain for this because your brain will try to tell you that a nose, a boat, a flower, etc. all look a certain way and it will try to override what your eyes are actually seeing. It will try to tell you that a cardboard box has three sides, but when you look at it, you may only see two sides. The best excercise to try for using your eyes and not your brain is blind contour drawing. Try drawing an object while following it with your eyes. Here's the trick: you can't look at your drawing while you sketch. Don't be alarmed if your drawing doesn't really look like that object! This is great practice to force your eyes to really look and see what's there. You'd be suprised to what you can actually see when you really look at something.
Required Drawings:
Let's do a variety of blind contour drawings for practice. When I take in your sketchbooks, I'll be looking for 2 blind contour drawings of objects and 1 blind contour drawing of a person.
Drawing Lesson 2: Negative Space
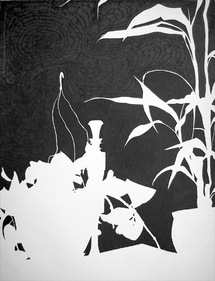
Another way to get really good at drawing is to look closely at the negative space in and around objects. Take a look at the examples in the slideshow below and get ready to get some practice drawing negative space!
Another way to get really good at drawing is to look closely at the negative space in and around objects. Take a look at the examples in the slideshow below and get ready to get some practice drawing negative space!
| art_3200_lesson_2_negative_space.pdf | |
| File Size: | 428 kb |
| File Type: | |
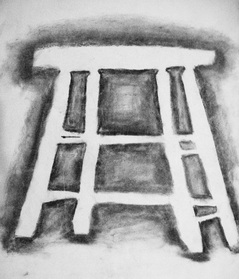
For practice, I'm going to place the stool on a table in the middle of the classroom. When you draw, concentrate only on the shape of the negative spaces between the legs of the stool and around it. Draw these shapes mainly by shading them in with your pencil. At the end of class, you should be left with the negative shape of the stool.
For the following class, let's draw a variety of objects on the table. Set them up so that there's interesting spaces between them. In other words, try not to have them stacked or touching side by side.
Required Drawings:
When I take in your sketchbooks, I need to see 1 negative space drawing of a stool and 1 negative space drawing of objects on the table (1 object from each person at the table).
Drawing Lesson 3: Contour Drawing
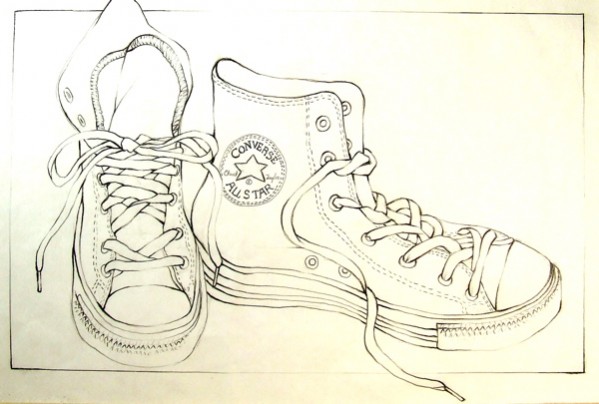
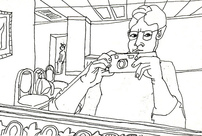
A contour line drawing is basically an outline drawing. There is no shading added, so you should just see the basic lines in a composition.
It is still important to look at the negative space when doing a contour line drawing. Once you capture the shape of the composition, move inside the positive space to draw the outlines of each shape.
More information can be found in the powerpoint here.
Required Drawings:
When I take in your sketchbooks, I will be looking for 1 contour line drawing of blocks on the table, 1 contour line drawing of two shoes, and 1 contour line drawing of a still life composition consisting of random objects (1 object from each person at the table).
Drawing Lesson 4: Value
Now that we know how to draw forms, let's figure out how to add highlights and shadows. It would be great to draw from life but our classroom setting isn't ideal because we're lacking space. We'll do most of our drawing from looking at images on the board and on paper.
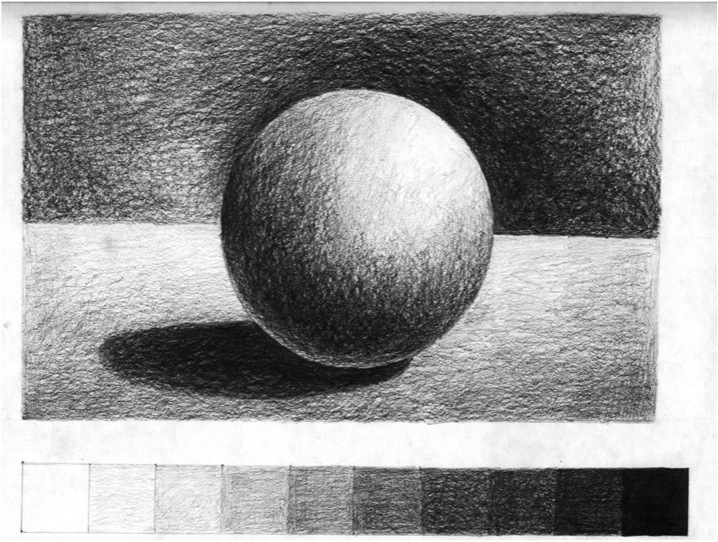
Read the article below by Miranda Aschenbrenner to get some great pointers on how to shade a sphere:
| art_3200_shading_a_sphere.pdf | |
| File Size: | 292 kb |
| File Type: | |
Here are some important points to remember:
For more details and information on the different types of shading, please see the PowerPoint presentation below. Be prepared to get some practice shading shapes to make them look like three-dimensional forms!
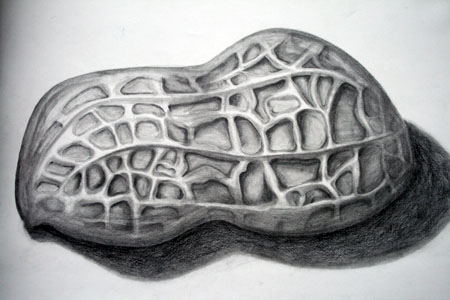
- Light areas should be drawn with hard leads (2H or 4H). Dark areas should be drawn with softer leads (2B or 4B).
- Try to blend in one direction to keep your shading smooth. Shade with the direction of your shape, not against it.
- The highlights should be the lightest areas in your drawing and the shadows should be the darkest areas.
- Start drawing the highlights first to keep the shadow areas from smudging into the highlights.
- Build up your shadows slowly. Instead of pressing hard to make a dark area, add layers of shading.
- Keep your blending stick clean by wiping it on clean paper or by pressing it into a kneaded eraser.
For more details and information on the different types of shading, please see the PowerPoint presentation below. Be prepared to get some practice shading shapes to make them look like three-dimensional forms!
|
| ||||||||||||
Required Sketches:
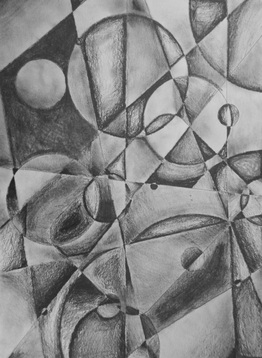
First, you will draw an abstract artwork like the one in the sample above (try not to copy the image exactly). Shade each shape in the image from light to dark so that it gradually changes. Please draw the last two images in the above slideshow entitled "Lesson #5 Value" (the sphere and the four forms).
First, you will draw an abstract artwork like the one in the sample above (try not to copy the image exactly). Shade each shape in the image from light to dark so that it gradually changes. Please draw the last two images in the above slideshow entitled "Lesson #5 Value" (the sphere and the four forms).
Drawing Lesson 5: Drawing by Erasing
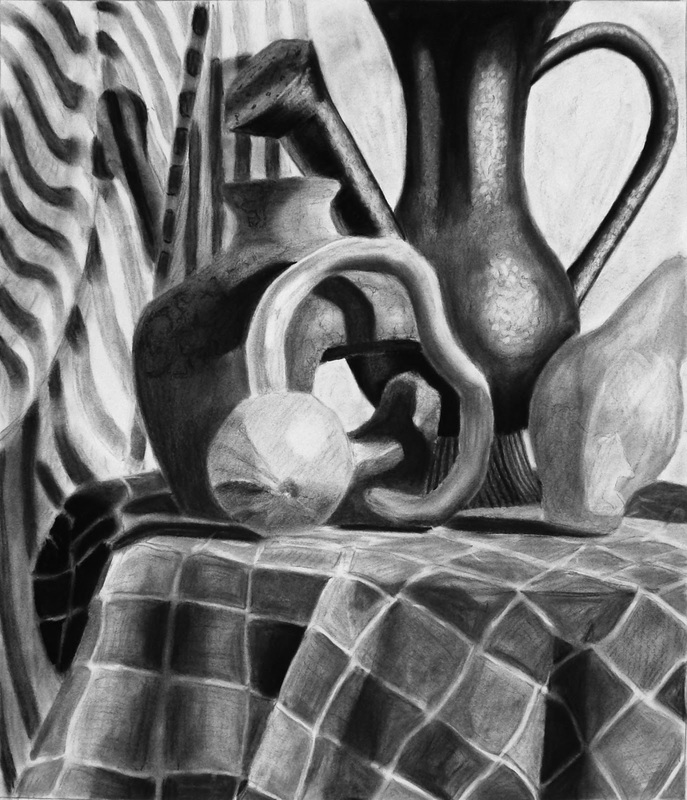
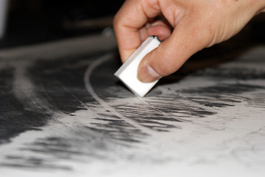
Drawing by erasing involves 'drawing' the lightest areas of a pictures with an eraser. Instead of using a pencil to build up layers of shading, use a kneaded eraser to gradually take away the highlights. The key is to take a little bit of charcoal away at a time.
Drawing by erasing involves 'drawing' the lightest areas of a pictures with an eraser. Instead of using a pencil to build up layers of shading, use a kneaded eraser to gradually take away the highlights. The key is to take a little bit of charcoal away at a time.
|
| ||||||||||||
Required Drawings:
In your sketchbooks, put an even layer of charcoal across your page. Use a kneaded eraser to 'draw' both the flower and the sphere. If you are tired of drawing the sphere or you need a challenge, try drawing the pears instead.
In your sketchbooks, put an even layer of charcoal across your page. Use a kneaded eraser to 'draw' both the flower and the sphere. If you are tired of drawing the sphere or you need a challenge, try drawing the pears instead.
|
|
| ||||||||||||||||||
Drawing Lesson 6: White on White Value Drawing
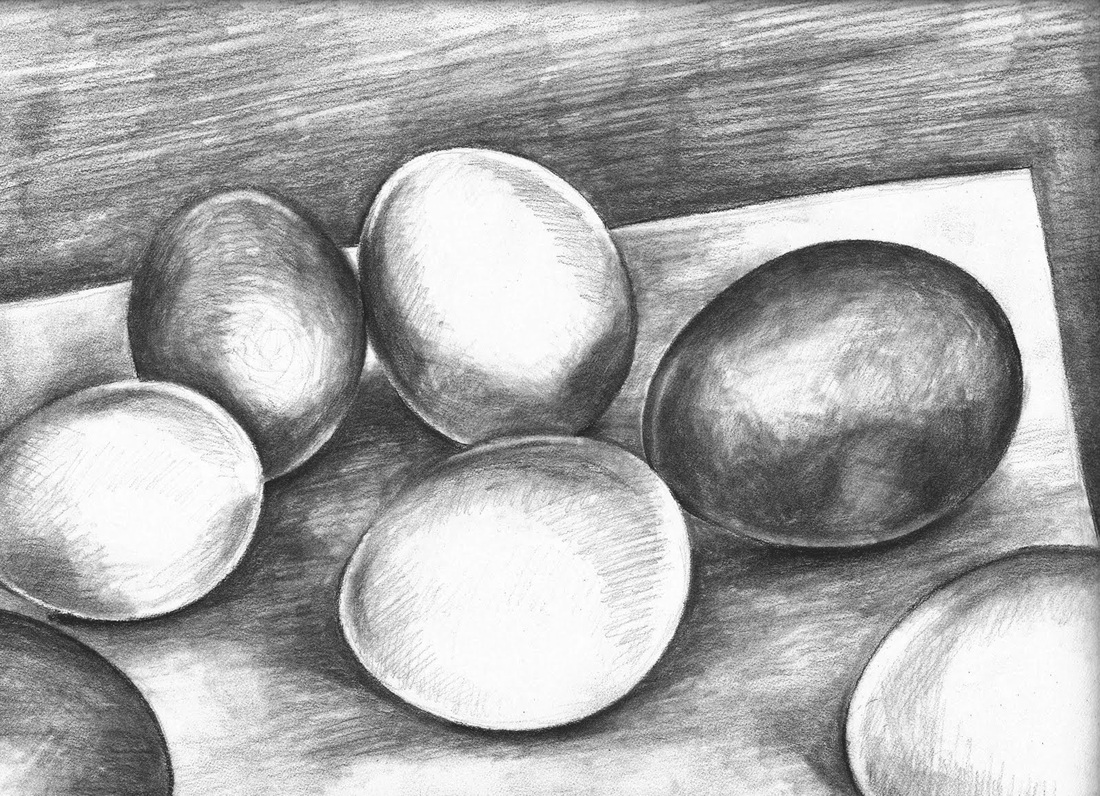
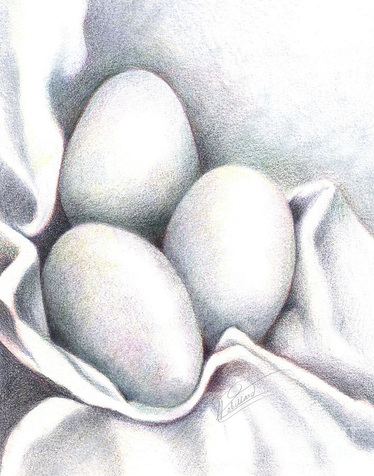
Drawing white objects on white paper requires you to use your value drawing skills and your drawing by erasing skills. These drawings should be drawn from life and drawn very lightly at first. Build up the darker areas gently.
In your sketchbook, draw a still life of 3 white objects using pencil and then draw another still life of 3 white objects using charcoal (you may also try white charcoal).
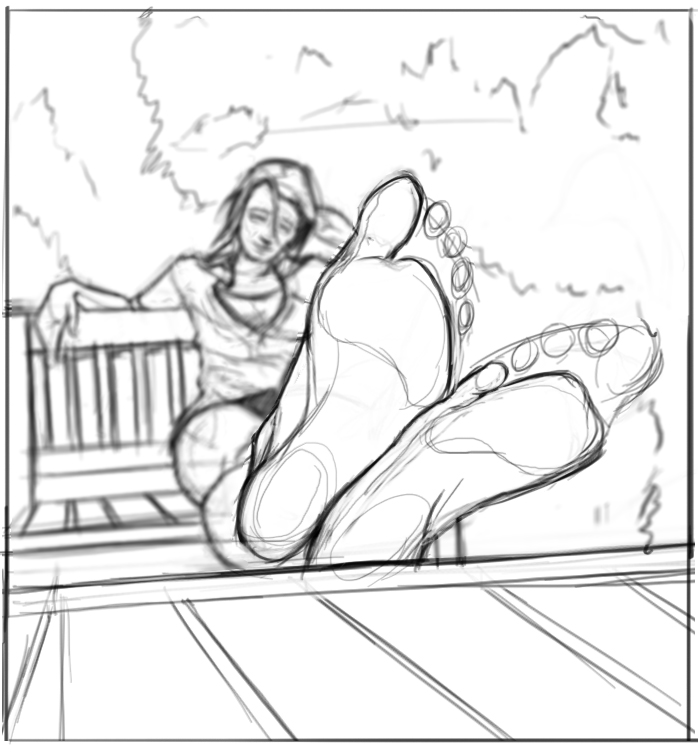
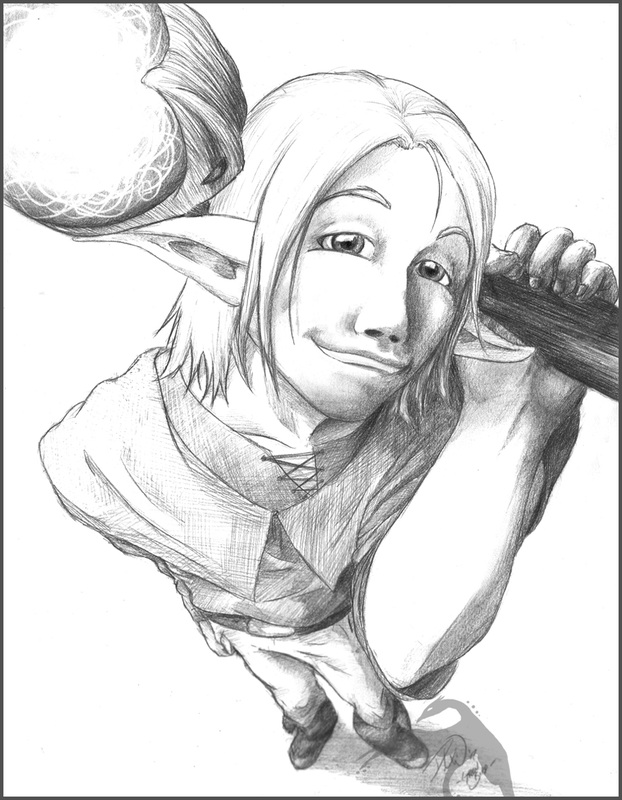
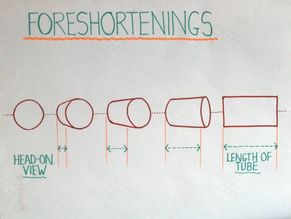
Drawing Lesson 7: Fore-shortening
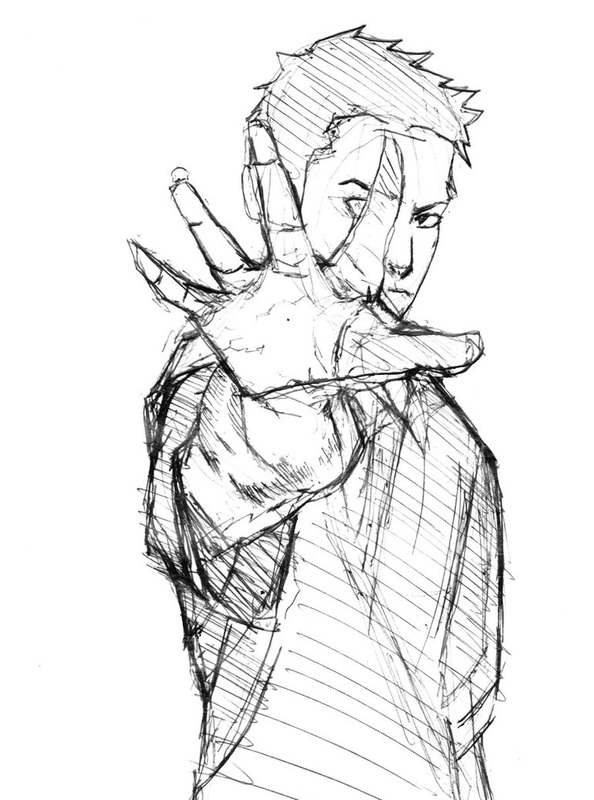
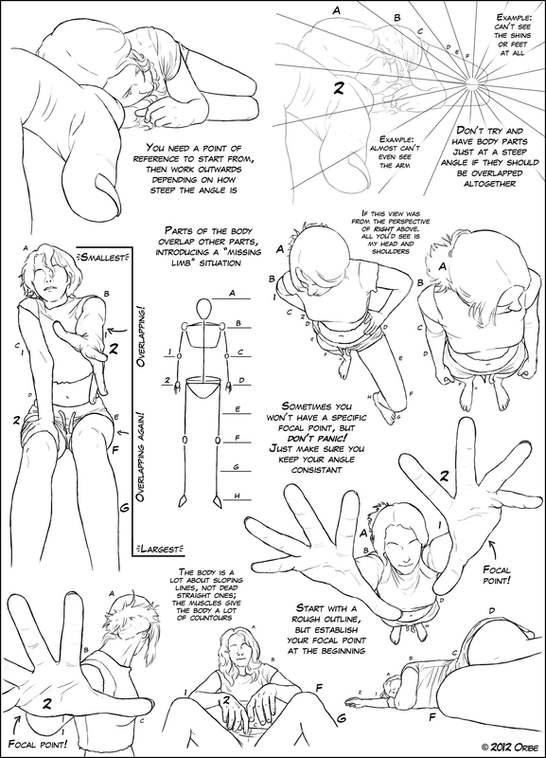
Drawing using the fore-shortening technique will give your subject matter depth. It's easy to draw a person standing up, but how would you draw someone lying down? How much of the person would you actually see? When you draw, don't use an eraser. Sketch your lines lightly until you feel that everything is in the right place and your forms are proportionate. Then you can go over your lines again to make them darker.
Follow along with the slideshow below to see several samples, then you will take photos of a model (someone from your table) and try to draw them in a foreshortened pose.
| art_3200_lesson_4_foreshortening.pdf | |
| File Size: | 1271 kb |
| File Type: | |
Required Drawings:
When I look in your sketchbooks, I should see 1 fore-shortened drawing of of a model lying down (starting at the feet looking up or starting at the head looking down) and 1 fore-shortened drawing of an object.
When I look in your sketchbooks, I should see 1 fore-shortened drawing of of a model lying down (starting at the feet looking up or starting at the head looking down) and 1 fore-shortened drawing of an object.
| perspectives_tutorial_by_dersketchie-d5fb8lk.png | |
| File Size: | 1048 kb |
| File Type: | png |
Drawing Lesson 8: Texture
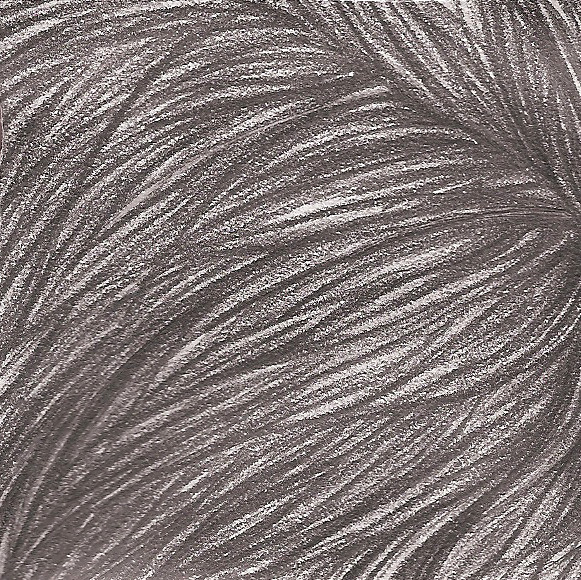
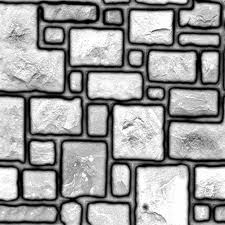
For this drawing lesson, you will need to remember the difference between actual and simulated texture.
Actual Texture - texture that you can actually feel or touch (wool socks, hair, a piece of bark, seaweed, etc.).
Simulated Texture - texture that is drawn to look real. When you touch it, you should just feel the smoothness of the page but it looks as though it's rough, spikey, bumpy, etc.
Texture Activity:
Required Drawings:
When I take in your sketchbooks, I need to see 8 rubbings, a drawing of a rubbing, and 5 drawings of textures.
For this drawing lesson, you will need to remember the difference between actual and simulated texture.
Actual Texture - texture that you can actually feel or touch (wool socks, hair, a piece of bark, seaweed, etc.).
Simulated Texture - texture that is drawn to look real. When you touch it, you should just feel the smoothness of the page but it looks as though it's rough, spikey, bumpy, etc.
Texture Activity:
- Move around the classroom with some white paper and a crayon and collect 8 textures. Place your paper on an actual texture and rub your crayon across it. The texture should appear on your paper.
- Glue your rubbings in your sketchbook, then draw one of these rubbings on the side. See if you can capture the texture of the rubbing in your drawing.
- Find 5 actual textures in the classroom. Lay them on the table in front of you and use your shading pencils to draw these textures. Try to capture the correct values as well.
Required Drawings:
When I take in your sketchbooks, I need to see 8 rubbings, a drawing of a rubbing, and 5 drawings of textures.
Drawing Lesson 9: Colour
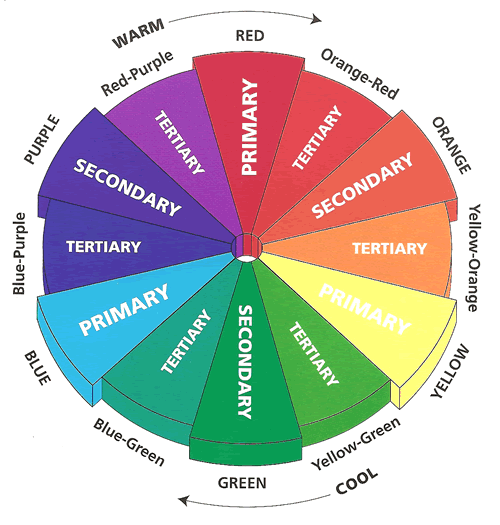
The main topics that we're going to look at in this lesson are warm colours, cool colours, analogous colours and complementary colours.
The main topics that we're going to look at in this lesson are warm colours, cool colours, analogous colours and complementary colours.
|
This is a picture of the colour wheel.
The three primary colours are red, yellow and blue. The three secondary colours are orange, purple and green. RED + YELLOW = ORANGE RED + BLUE = PURPLE BLUE + YELLOW = GREEN The tertiary colours are made by mixing a primary colour and a secondary colour. The six tertiary colours are red-purple, orange-red, yellow-orange, yellow-green, blue-green and blue-purple. |
|
| ||||||||||||
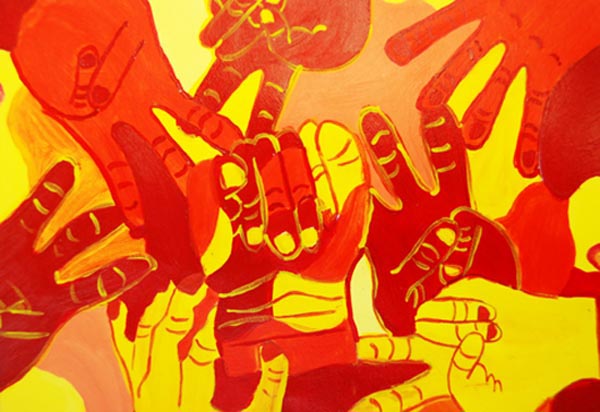
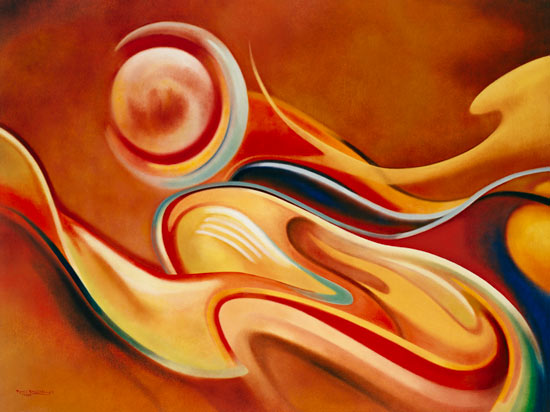
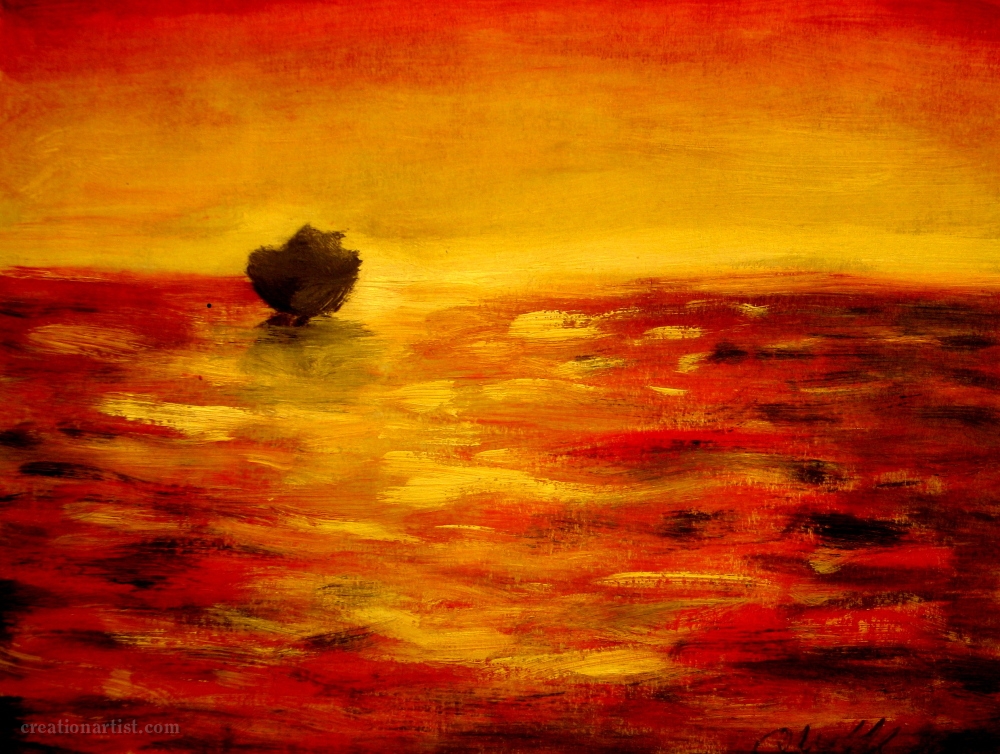
Warm colours are colours which contain red, orange or yellow. These would also be analogous colours because they all touch on the colour wheel (or create their own family of colours).
Cool colours are colours which contain blue, green or purple. They would also be analogous colours because they all touch on the wheel.
Complementary colours are opposite colours on the colour wheel. When placed side by side, these pairs of colours really make things stand out.
Required Drawings:
When I take in your sketchbooks, I'll be looking for the following:
1. Use only the three primary colours to create a 12 colour wheel like the one above. Use light layers to create secondary and tertiary colours (for example, to make orange, use a light layer of yellow and a light layer of red. To make yellow-orange, use more yellow than red).
2. Using a light pencil, draw a piece of fruit or a plant (you can use the images below, or bring in a real piece of fruit). Colour lightly to make blending easier.
3. Try blending some pairs of complementary colours. What happens?
|
| ||||||||||||
For more information on colour theory, please see the PowerPoint presentation below.
|
| ||||||||||||
Drawing Practice Checklist and Evaluation
|
| ||||||||||||
Drawing Techniques Book
Using all of the previous drawing techniques we have learned, you will create a unique handmade book that will have examples of each technique. Each of your pages will use a different drawing technique to display the same object. You will choose a significant personal object as the subject matter for your art book.
You will also sculpt the cover of your art book to create a 3-dimensional version of your personal object.
|
| ||||||||||||
Christmas Perspective Drawing
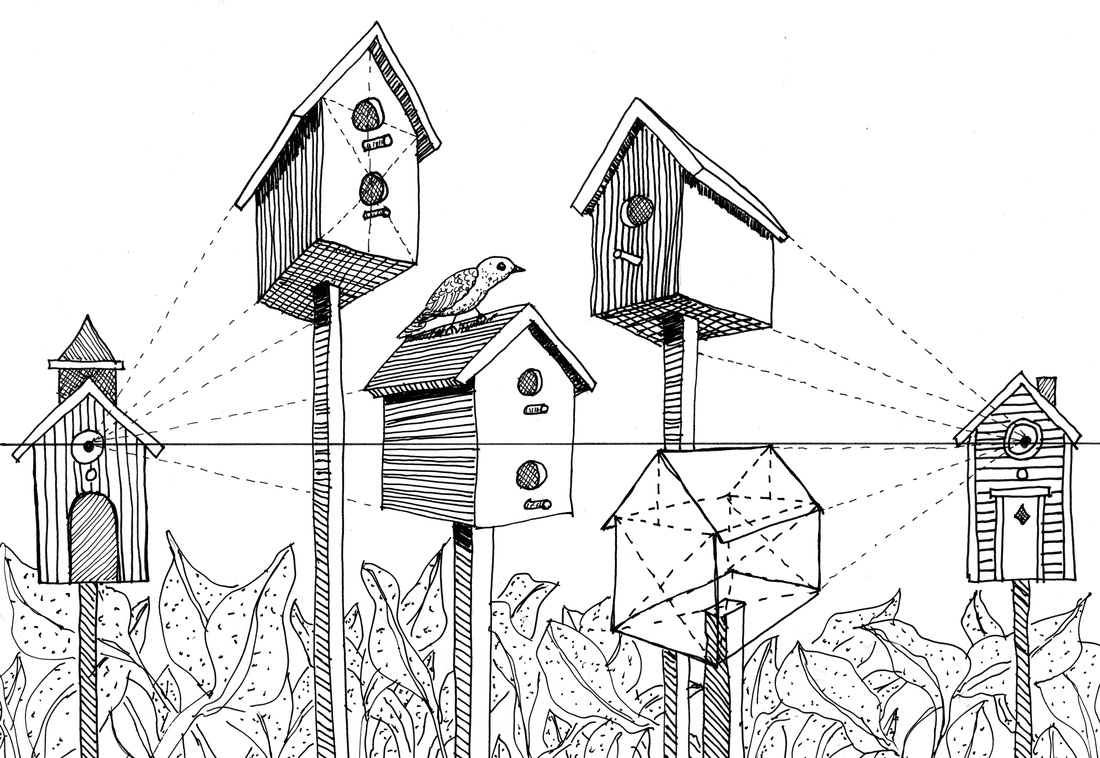
For this project, we will learn how to draw using one and two point perspective. Before we get to our project, we will practice using both 1-point and 2-point perspective.
Perspective - The appearance of things in relation to one another.
Horizon Line - The line in a perspective drawing where the sky meets the ground. It also represents the viewer’s eye level. That is, the placement of the line on the picture plane depends on the vantage point of the artist. For example, if the artist is low to the ground, the horizon line is low on the picture plane. You can see the top of an object if it is below eye level, below the horizon line. If an object is above eye level, above the horizon line, you can not see its top.
Vanishing Point - the point at which receding parallel lines viewed in perspective appear to converge. The point at which something that has been growing smaller or increasingly faint disappears altogether.
Orthogonal Line - Literally, a line which is at right angles to another. In linear perspective drawings, it is the line you draw from the corner of an object to the vanishing point. It establishes the illusion of a perpendicular line going into the distance. Orthogonal lines should always be drawn lightly at first. Usually, most of an orthogonal will be erased.
Foreground - The front of an artwork. Objects/people that are in the foreground are closer. Objects/people that are in the foreground should be drawn larger, closer to the bottom of the page, darker, and have more detail. If you are using colour, you can also use warm colours to make the objects/people appear to be closer.
Middle ground - The middle area of an artwork.
Background - The back of an artwork. Objects/people that are in the background are the farthest away in the artwork. Objects/people that are in the background should be drawn smaller, higher up on the page (closer to the horizon line), lighter, and with less detail. If you are using colour, you can also use cool colours to make the objects/people appear to recede.
For detailed information on 1 and 2 point perspective, we will view the following PowerPoint presentations in class.
|
|
| ||||||||||||||||||||||||||||||||||||
|
| ||||||||||||
1 - Point Perspective Practice Worksheets
Please complete the following worksheets on 1 - Point Perspective.
Please complete the following worksheets on 1 - Point Perspective.
|
|
|
| ||||||||||||||||||||||||
2 - Point Perspective Practice Worksheets
Please complete the following worksheets on 2 - Point Perspective.
Please complete the following worksheets on 2 - Point Perspective.
Christmas Perspective Drawing
For full details on the Christmas drawing project, please see the project outline and evaluation below.
For full details on the Christmas drawing project, please see the project outline and evaluation below.
|
| ||||||||||||
Winter Term Projects (January - June)
For projects completed with Ms. Worthman from September - December, visit her website here.
Spring Drawing Review Project - Due April 17, 2014
We will be beginning a new unit after Easter that will require you to use the drawing skills that you learned in Unit 1. This project will help you to practice your skills. In your sketchbook, you will complete the following drawings. Each drawing should be a full page in your sketchbook. All of these drawings will need to have a common theme which relates to spring. (For example: Easter, eggs, rabbit, warmth, growth, etc.)
Please take your time and complete each drawing carefully and neatly. Be creative!
| art_3200_drawing_review_easter.doc | |
| File Size: | 26 kb |
| File Type: | doc |
