For this unit, we will first concentrate on colour schemes and mixing techniques. After these introductory lessons, we will move onto a series of tempera and acrylic paintings. Then we will experiment with watercolours.
We will also be reviewing the proper way to clean and store brushes, discussing required materials for painting, etc. Then we will move to creating our own colour wheels, grey scales, colour scales, and learning various terms that we will need to know when painting.
For the first few classes, we will practice mixing colours to create tints, shades, secondaries, teriaries, and complements. If you miss these classes, come and see me to get the instruction sheet and to schedule a time when you can do this outside of class time in the art room. Colour theory information and complete list of terms can be found in the files below.
Here is a useful website that we will use to look at the different types of paint that artists use.
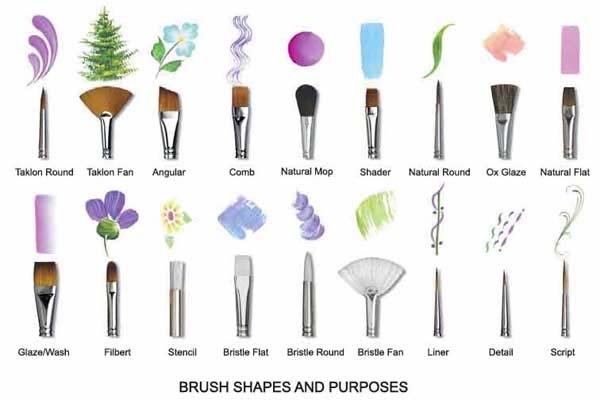
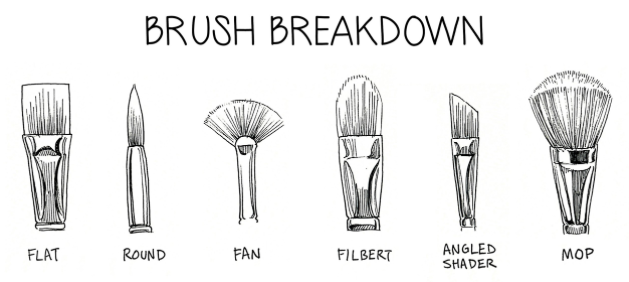
Here are a few images of the types of paintbrushes that artists use.
We will also be reviewing the proper way to clean and store brushes, discussing required materials for painting, etc. Then we will move to creating our own colour wheels, grey scales, colour scales, and learning various terms that we will need to know when painting.
For the first few classes, we will practice mixing colours to create tints, shades, secondaries, teriaries, and complements. If you miss these classes, come and see me to get the instruction sheet and to schedule a time when you can do this outside of class time in the art room. Colour theory information and complete list of terms can be found in the files below.
Here is a useful website that we will use to look at the different types of paint that artists use.
Here are a few images of the types of paintbrushes that artists use.
|
| ||||
|
| ||||
Colour Wheels (Watercolour)
Using only the 3 primary colours, you will mix and fill in all the primary, secondary, and tertiary spaces of your colour wheel. Remember to give the hue and type for each colour on your wheel.
Grey Scales (Watercolour)
Using only white and black, you will mix various values of grey to create a grey scale with 9 blocks. Remember to start with white and gradually darken your grey for each block.
Colour Scales (Watercolour)
Using only white, black, and a pure colour, you will mix various values of grey to create a grey scale with 9 blocks. Remember to start with white and gradually darken it with your colour to create 3 tints. Your pure colour will be painted in the center, then you will start with your colour and gradually darken it by adding black to create 3 shades. The last block should be pure black.
Watercolour Techniques Project
You will complete this project in your sketchbook. You will practice the different watercolour techniques that we will review in class.
In your sketchbook, you will paint a sample of each of the following watercolour techniques.
Draw a rectangle for each sample technique (2-4 per sketchbook page).
Your project must have a title and each sample must be labeled correctly.
Remember to be neat and creative!
For more watercolour information and samples, please see the PowerPoint presentation below.
You will complete this project in your sketchbook. You will practice the different watercolour techniques that we will review in class.
In your sketchbook, you will paint a sample of each of the following watercolour techniques.
- Wash
- Graded Wash
- Wet-in-Wet
- Dry Brush
- Lifting
- Splatter
- Salt
- Wax Resist
- Erasing
- Sgrafitto
- Textures
- Dropping
- Plastic Wrap Texture
- Tissue Paper Texture
- Stamping
Draw a rectangle for each sample technique (2-4 per sketchbook page).
Your project must have a title and each sample must be labeled correctly.
Remember to be neat and creative!
For more watercolour information and samples, please see the PowerPoint presentation below.
|
| ||||
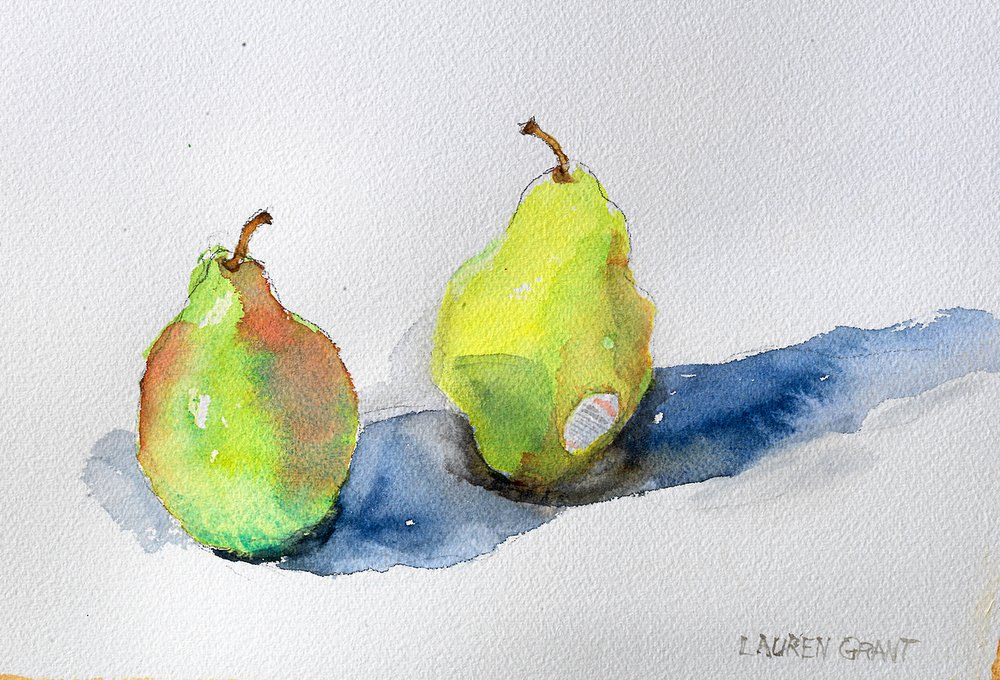
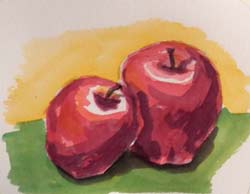
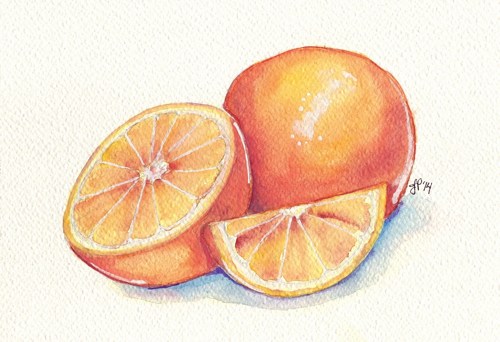
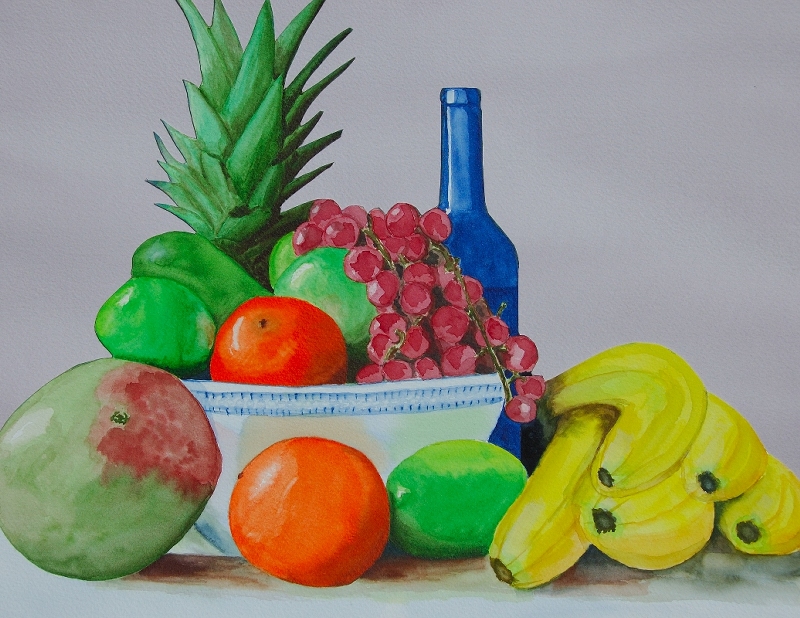
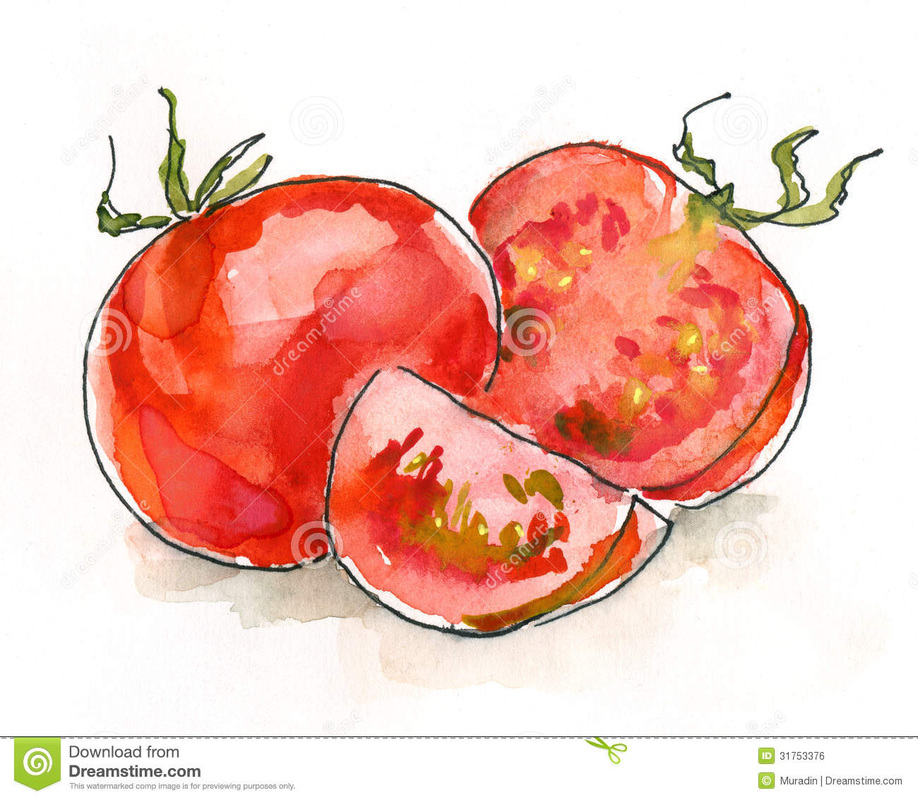
Watercolour Still Life Painting
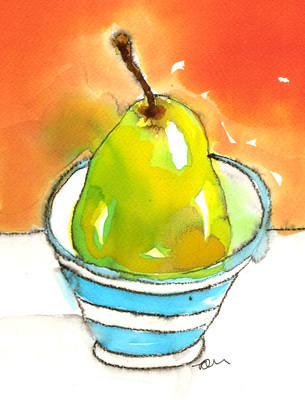
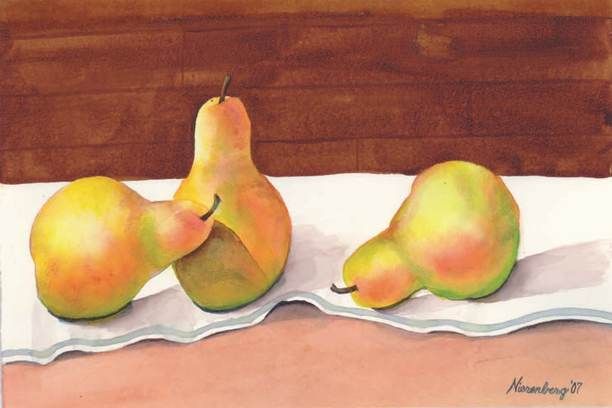
After practising your watercolour techniques and painterly strokes, you will choose a few items to use in a watercolour still life.
A still life is a work of art depicting mostly inanimate subject matter, usually commonplace objects which may be either natural (food, flowers, dead animals, plants, rocks, or shells) or man-made (dishes, books, vases, jewellery, coins, pipes, and so on).
Your painting will be based on the still life and landscape paintings of Georgia O'Keefe. You will choose objects from nature (plants, rocks, pine cones, twigs, leaves, bones, antlers, etc.) to use in your still life.
- Because your painting is in the style of Georgia O'Keefe's paintings, you will draw your chosen object or objects larger than life. This will also make it easier to paint the details.
- You can choose to lightly sketch out the image with pencil first or you can attempt to lightly block in the shapes and colours with the watercolour paint at first.
- You must use at least 3 of the watercolour techniques that we practised in class (you must be able to identify them when asked).
- You must also 3 of the painterly strokes that we practised in class (again, you must be able to identify and explain what painterly strokes you are using).
|
|
| ||||||
|
| ||||
Monogram Painting OR Name Design Painting
This project was to be worked on and completed throughout the entire painting unit. When other projects were finished, this project would keep you from getting bored and let you have a little more freedom with the paint.
This project was to be worked on and completed throughout the entire painting unit. When other projects were finished, this project would keep you from getting bored and let you have a little more freedom with the paint.
| monogram_painting_rubric.docx |
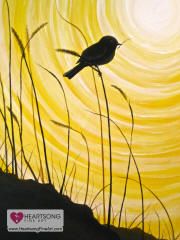
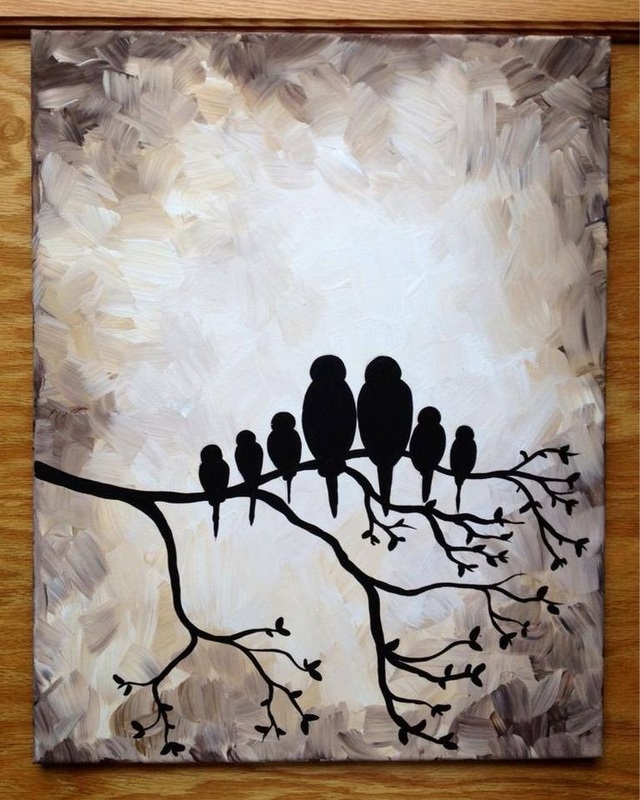
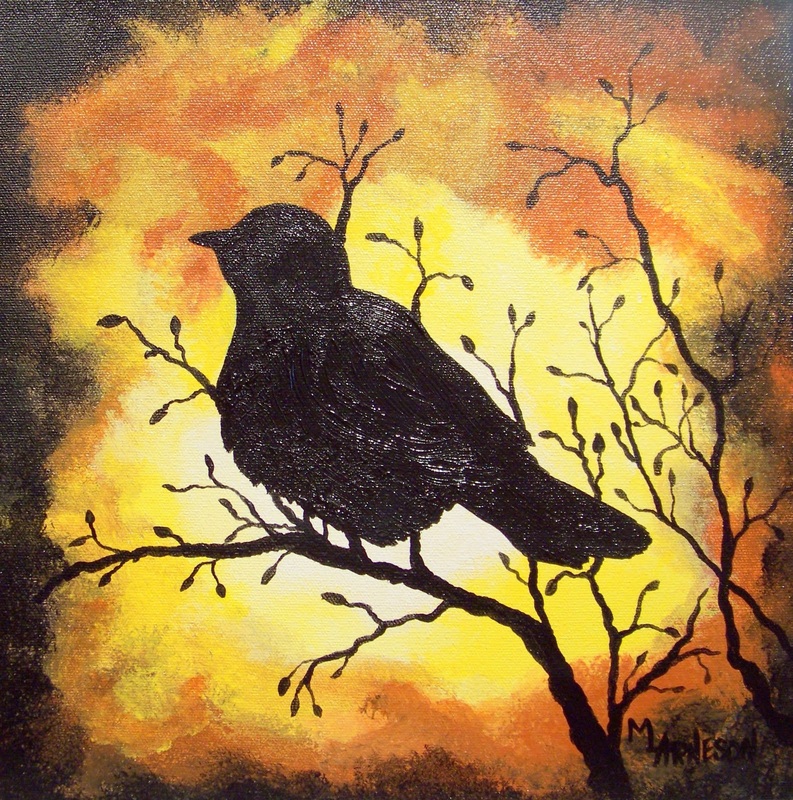
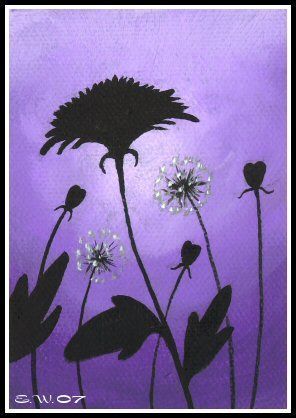
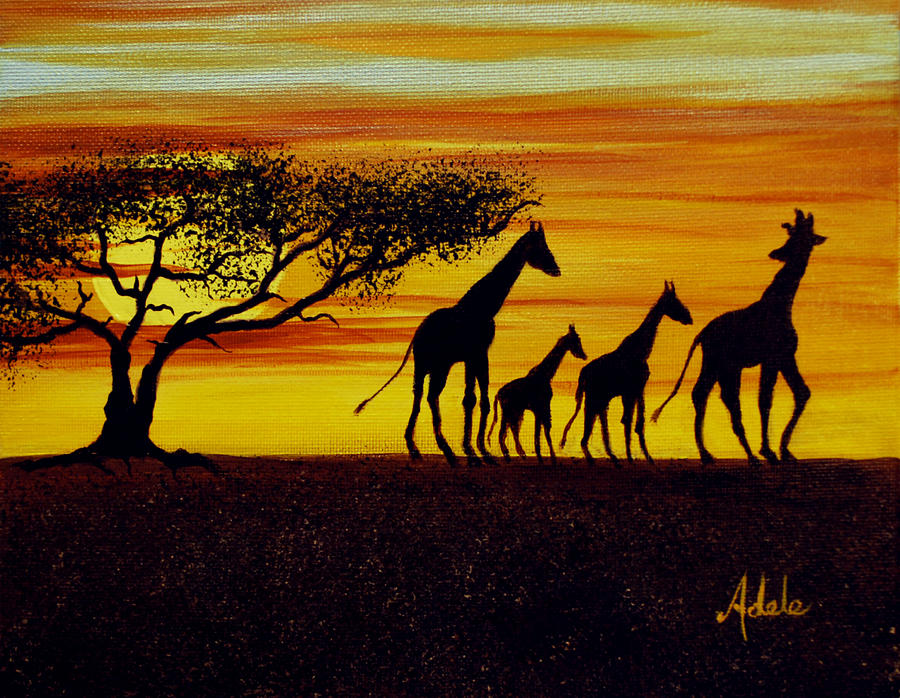
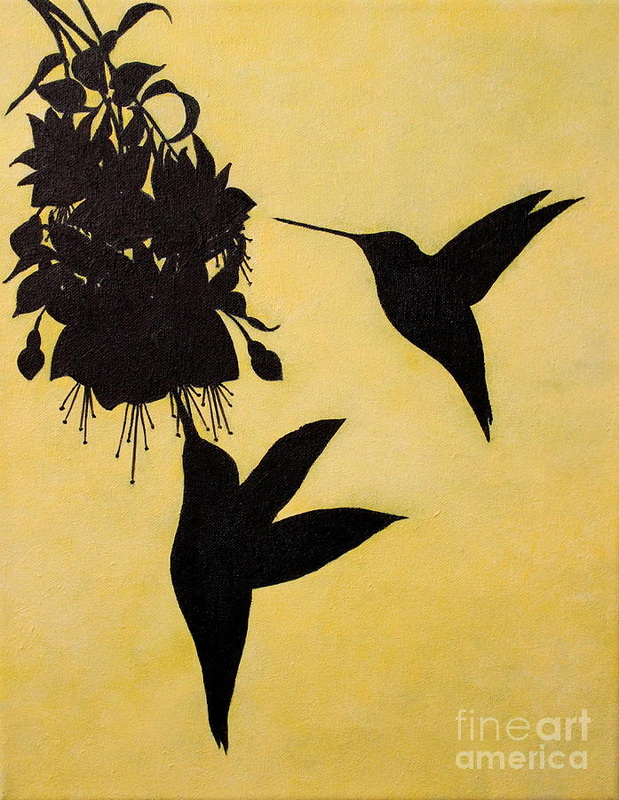
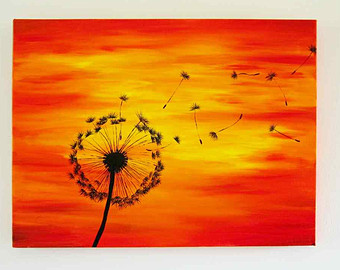
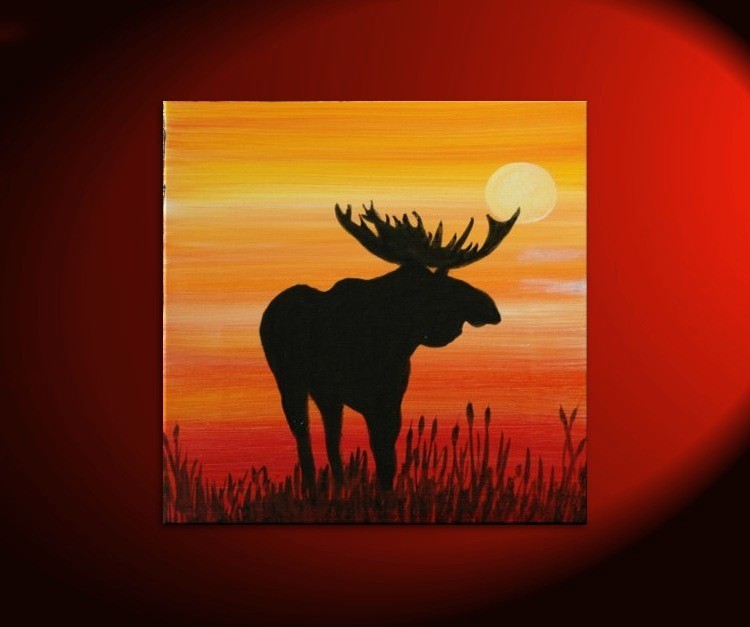
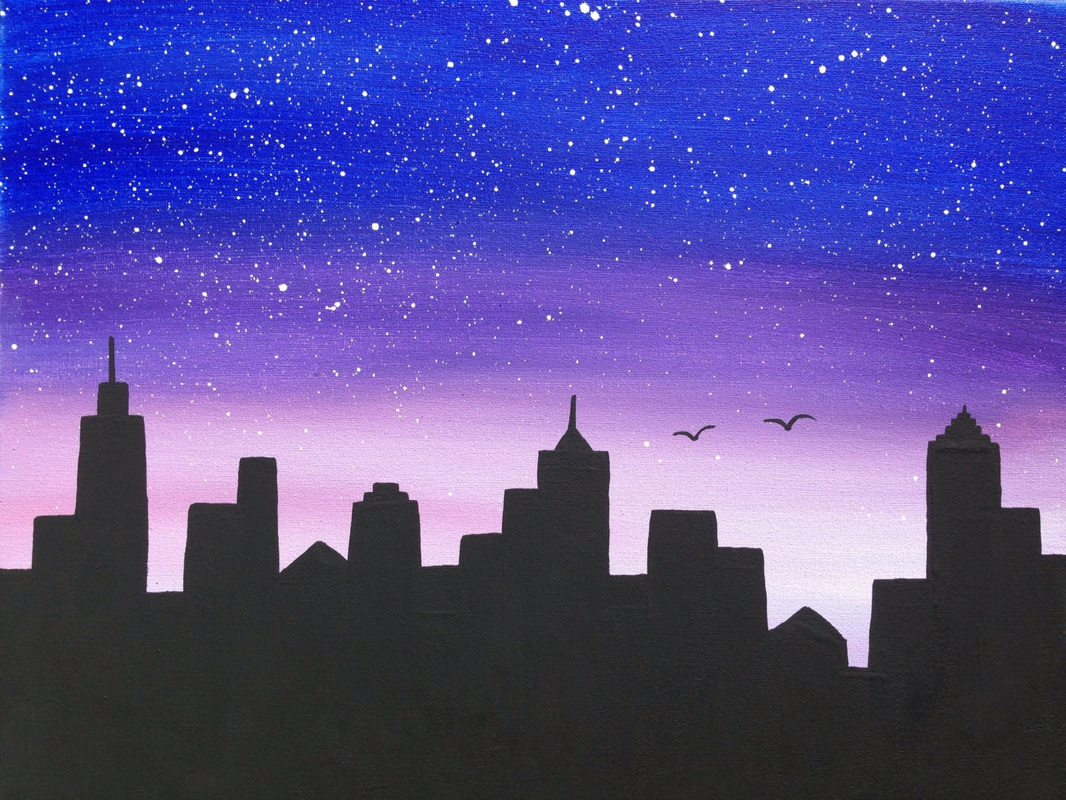
Silhouette Painting
You will create a beautiful silhouette painting using acrylic paints.
A silhouette is a dark shape and outline of someone or something visible against a lighter background, especially in dim light. A silhouette can also refer to a dark shape and outline against a lighter background. Your painting will have a black silhouetted image on a colourful background.
For your painting, you will need to plan the image that you would like to silhouette before you create the background. Your silhouette has to be a personal object, or a symbol/image of something that is personal to you. You will draw your object, symbol, or image within a landscape. You will then choose your background colours carefully so that the atmosphere created by the colours will match the emotion or theme that you are trying to show in your image.
Silhouette painting process:
- Sketch and plan your painting in your folder
- Paint the background of your canvas board. Make sure that the canvas and edges are completely covered.
- Create a template of your silhouette. Draw your silhouette carefully to scale on card stock (we will use recycled file folders for this). Carefully cut out your silhouette.
- Trace your silhouette template onto your background with pencil.
- Fill in your silhouette with black paint. Make sure to apply paint carefully and neatly, covering all areas.
- You may decide to add details after the silhouette is filled in with black, but it is not required.


|
| ||||
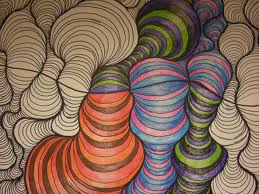
Curved Line Watercolour Painting
After getting some practice at making washes with watercolours, let's see how well we can lighten our colours in this fun project! These designs create great textures and work the best when they are painted using a wide variety of tints and shades. Follow the directions in the link below. The tentative due date for this assignment is Thursday, March 28th but we can continue working on it after the Easter break if need be. Have fun!
After getting some practice at making washes with watercolours, let's see how well we can lighten our colours in this fun project! These designs create great textures and work the best when they are painted using a wide variety of tints and shades. Follow the directions in the link below. The tentative due date for this assignment is Thursday, March 28th but we can continue working on it after the Easter break if need be. Have fun!
| curved_lines_watercolour_painting_instructions.doc |
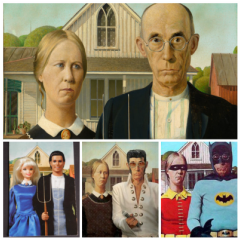
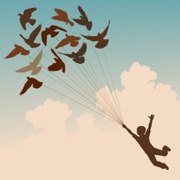
Painting Parody
For this project, you will choose a famous painting and create a parody of that painting. You will paint your parody of the famous painting in the style of a famous artist while learning information about the artist’s life.
You can view different art styles here, here, and here.
For detailed instructions and samples, please see the file below.
|
| ||||
| painting_parody_instructions.doc |
